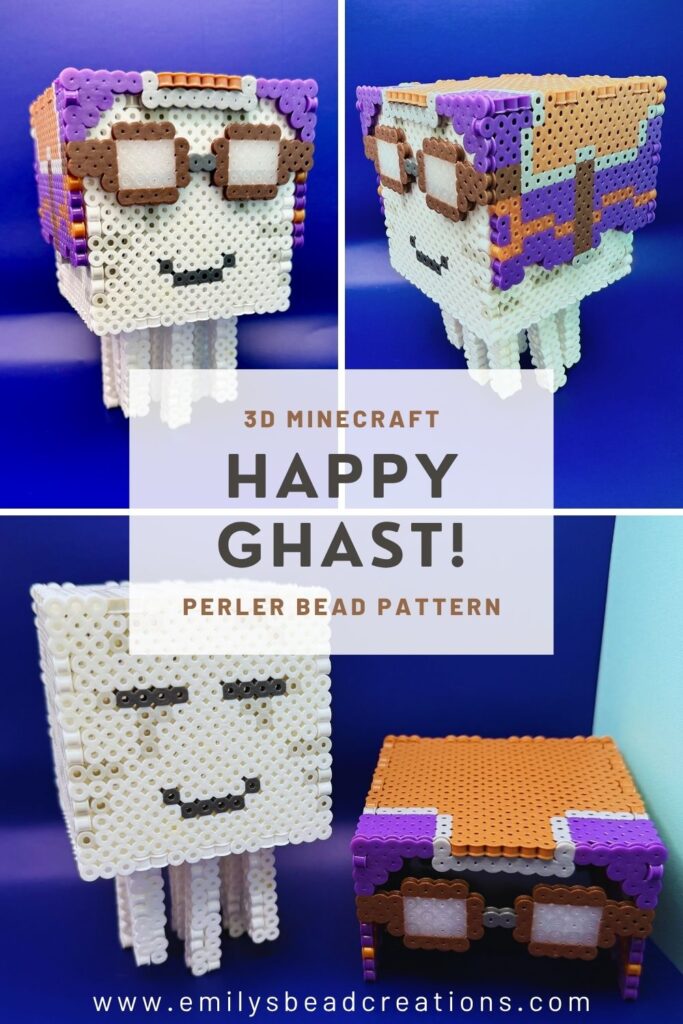
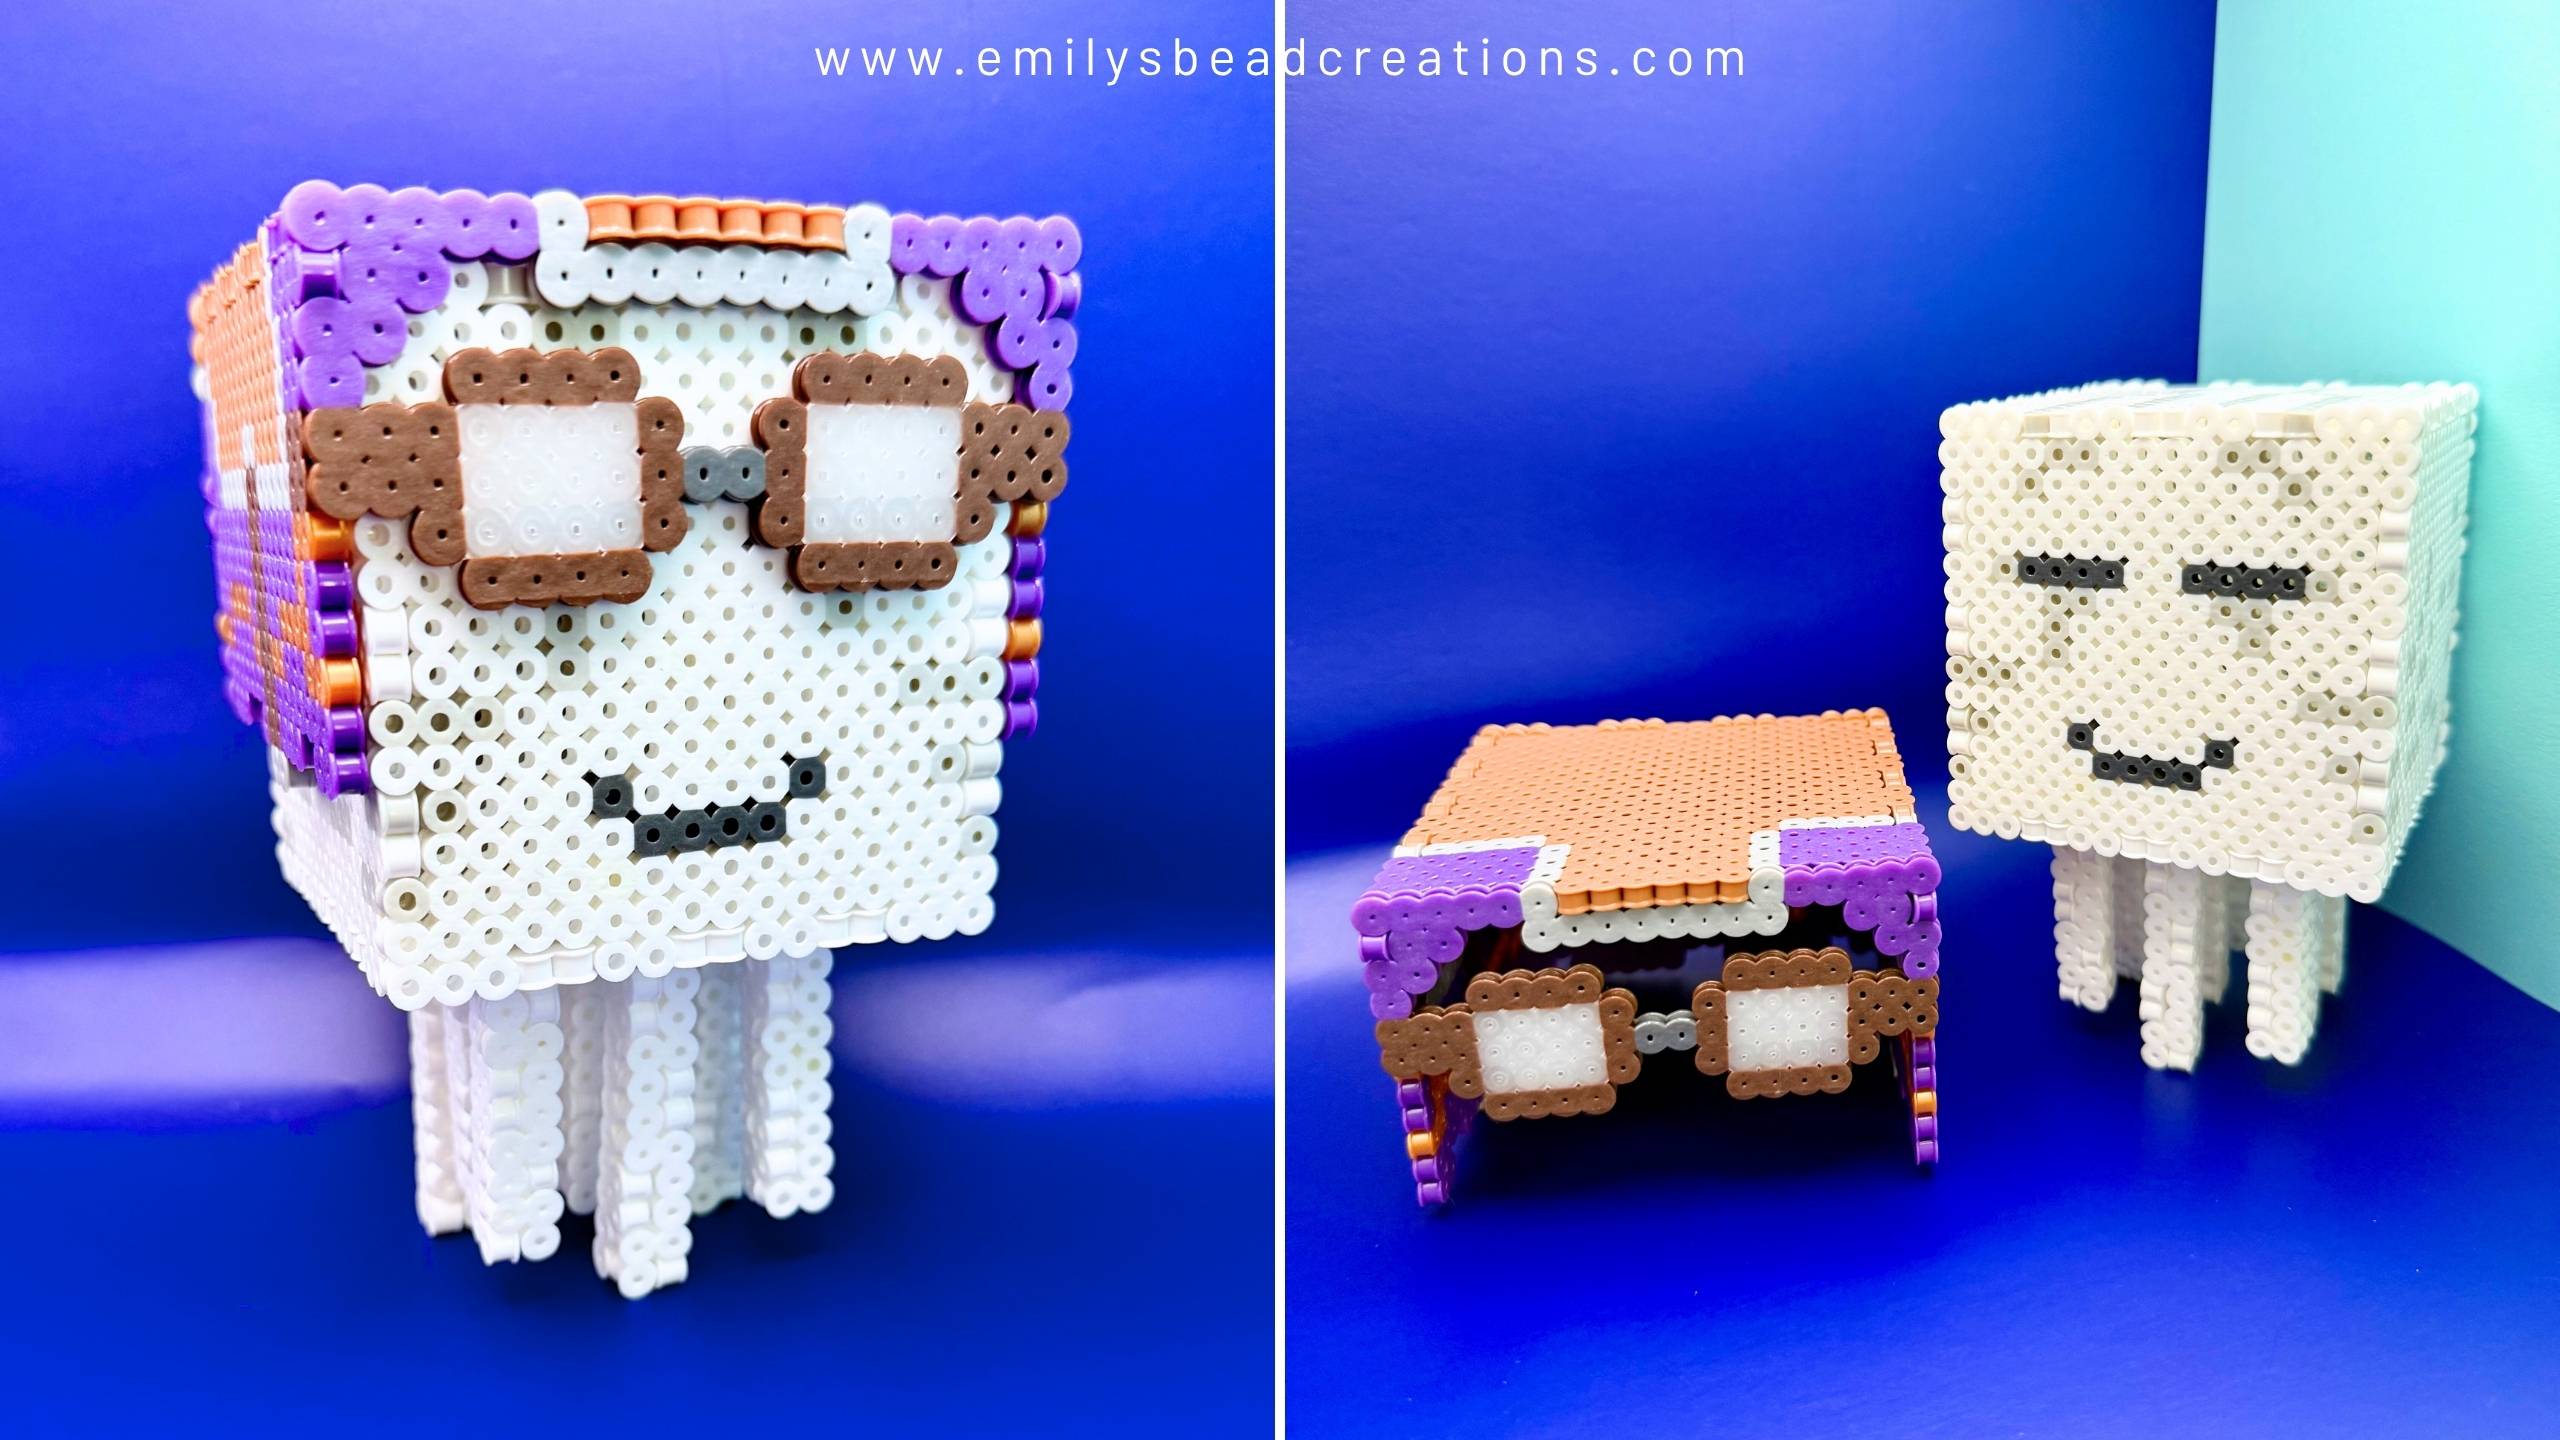
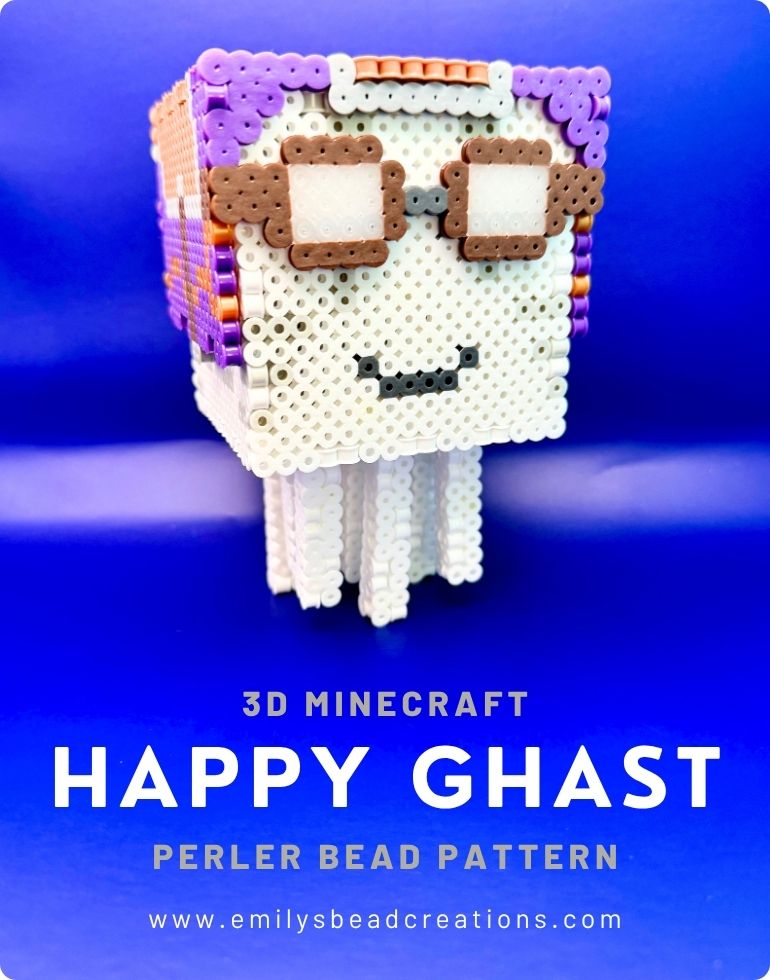
The last Minecraft update gave us the Happy Ghast, a friendly and adventurous ghostie to explore the Overworld with. With their cute goggles, colorful harnesses, and happy smiles, these travel buddies were just begging to follow us into the real world. With my pattern, you can make your very own 3D Minecraft Happy Ghast with harness and all! Watch me build it on Instagram.
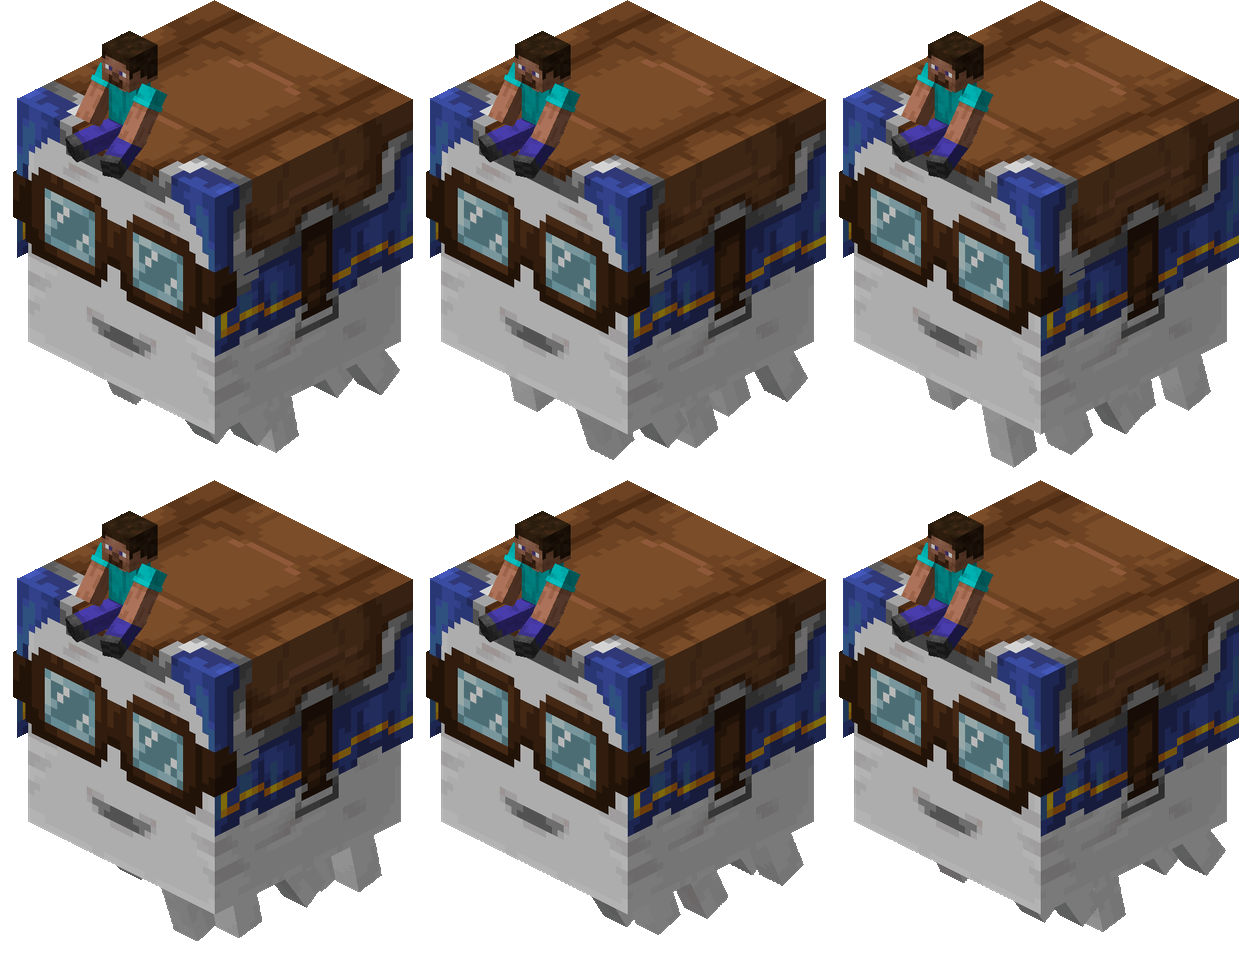
This Perler bead creation is not for the faint of heart, though. You’ll need about 2,500 beads and a few hours to make your 3D Happy Ghast, but I promise this little buddy is well worth the effort. (But if you want something a little quicker, check out my baby happy ghastling pattern.)
Let’s take a look at the finished project! 🤓 Isn’t he adorable? (The harness is fully removable, by the way!)
This build is pretty complex, so I put together a printable pattern showing all 9 panels to eliminate some of the guesswork, squinting at the screen and hoping you got it all right, etc.
Materials List
For this build, you’ll need the following beads and equipment.
Beads for the ghast:
- 1,493 white fuse beads (I used Perler White)
- 167 light gray fuse beads (I used Perler Light Gray)
- 14 dark gray fuse beads (I used Perler Dark Gray)
Beads for the harness:
- 378 light brown fuse beads (I used Perler Light Brown)
- 318 purple fuse beads (I used Perler Purple) — this is the harness color, so feel free to customize!
- 24 clear fuse beads (I used Perler Clear)
- 54 gold fuse beads (I used Perler Gold)
- 80 dark brown fuse beads (I used Perler Brown)
- 86 gray fuse beads (I used Perler Gray)
- 2 dark gray fuse beads (I used Perler Dark Gray)
Equipment:
- Large pegboard — 1 is enough if you want to iron as you go, but it will be slow; if you want to make it all at once, you’ll need 9 panels (I used Perler Clear Pegboard)
- Iron (I’ve used this one for years)
- Parchment paper (the regular stuff works as well as the special Perler sheets!)
- (optional but recommended) Perler Bead Tweezers
Optional: For just $1, print my 3D Happy Ghast pattern to take this build offline! Includes colors, bead counts, and easy-to-follow pattern. Every pattern purchase helps me invent and share new projects like this one. 💖

Instructions: Build a 3D Minecraft Happy Ghast
Step 1: Make the Ghast’s Head and Body
On a large pegboard, follow the pattern shown below to create each piece of your 3D Minecraft Happy Ghast. Here are the pieces you’ll need for the ghast’s head/body:
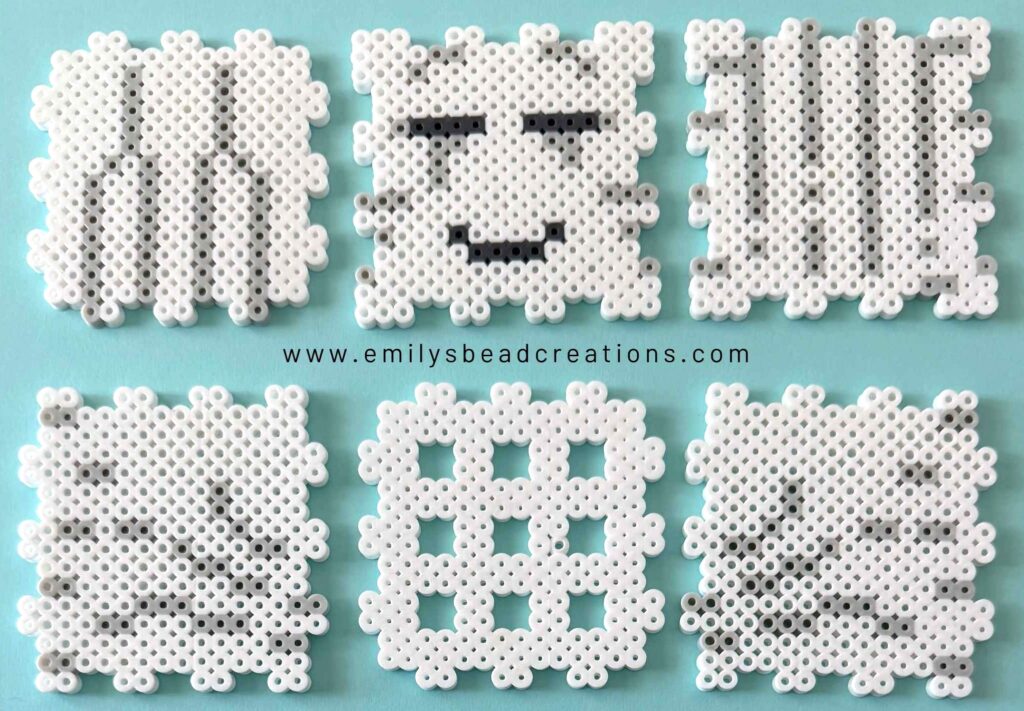
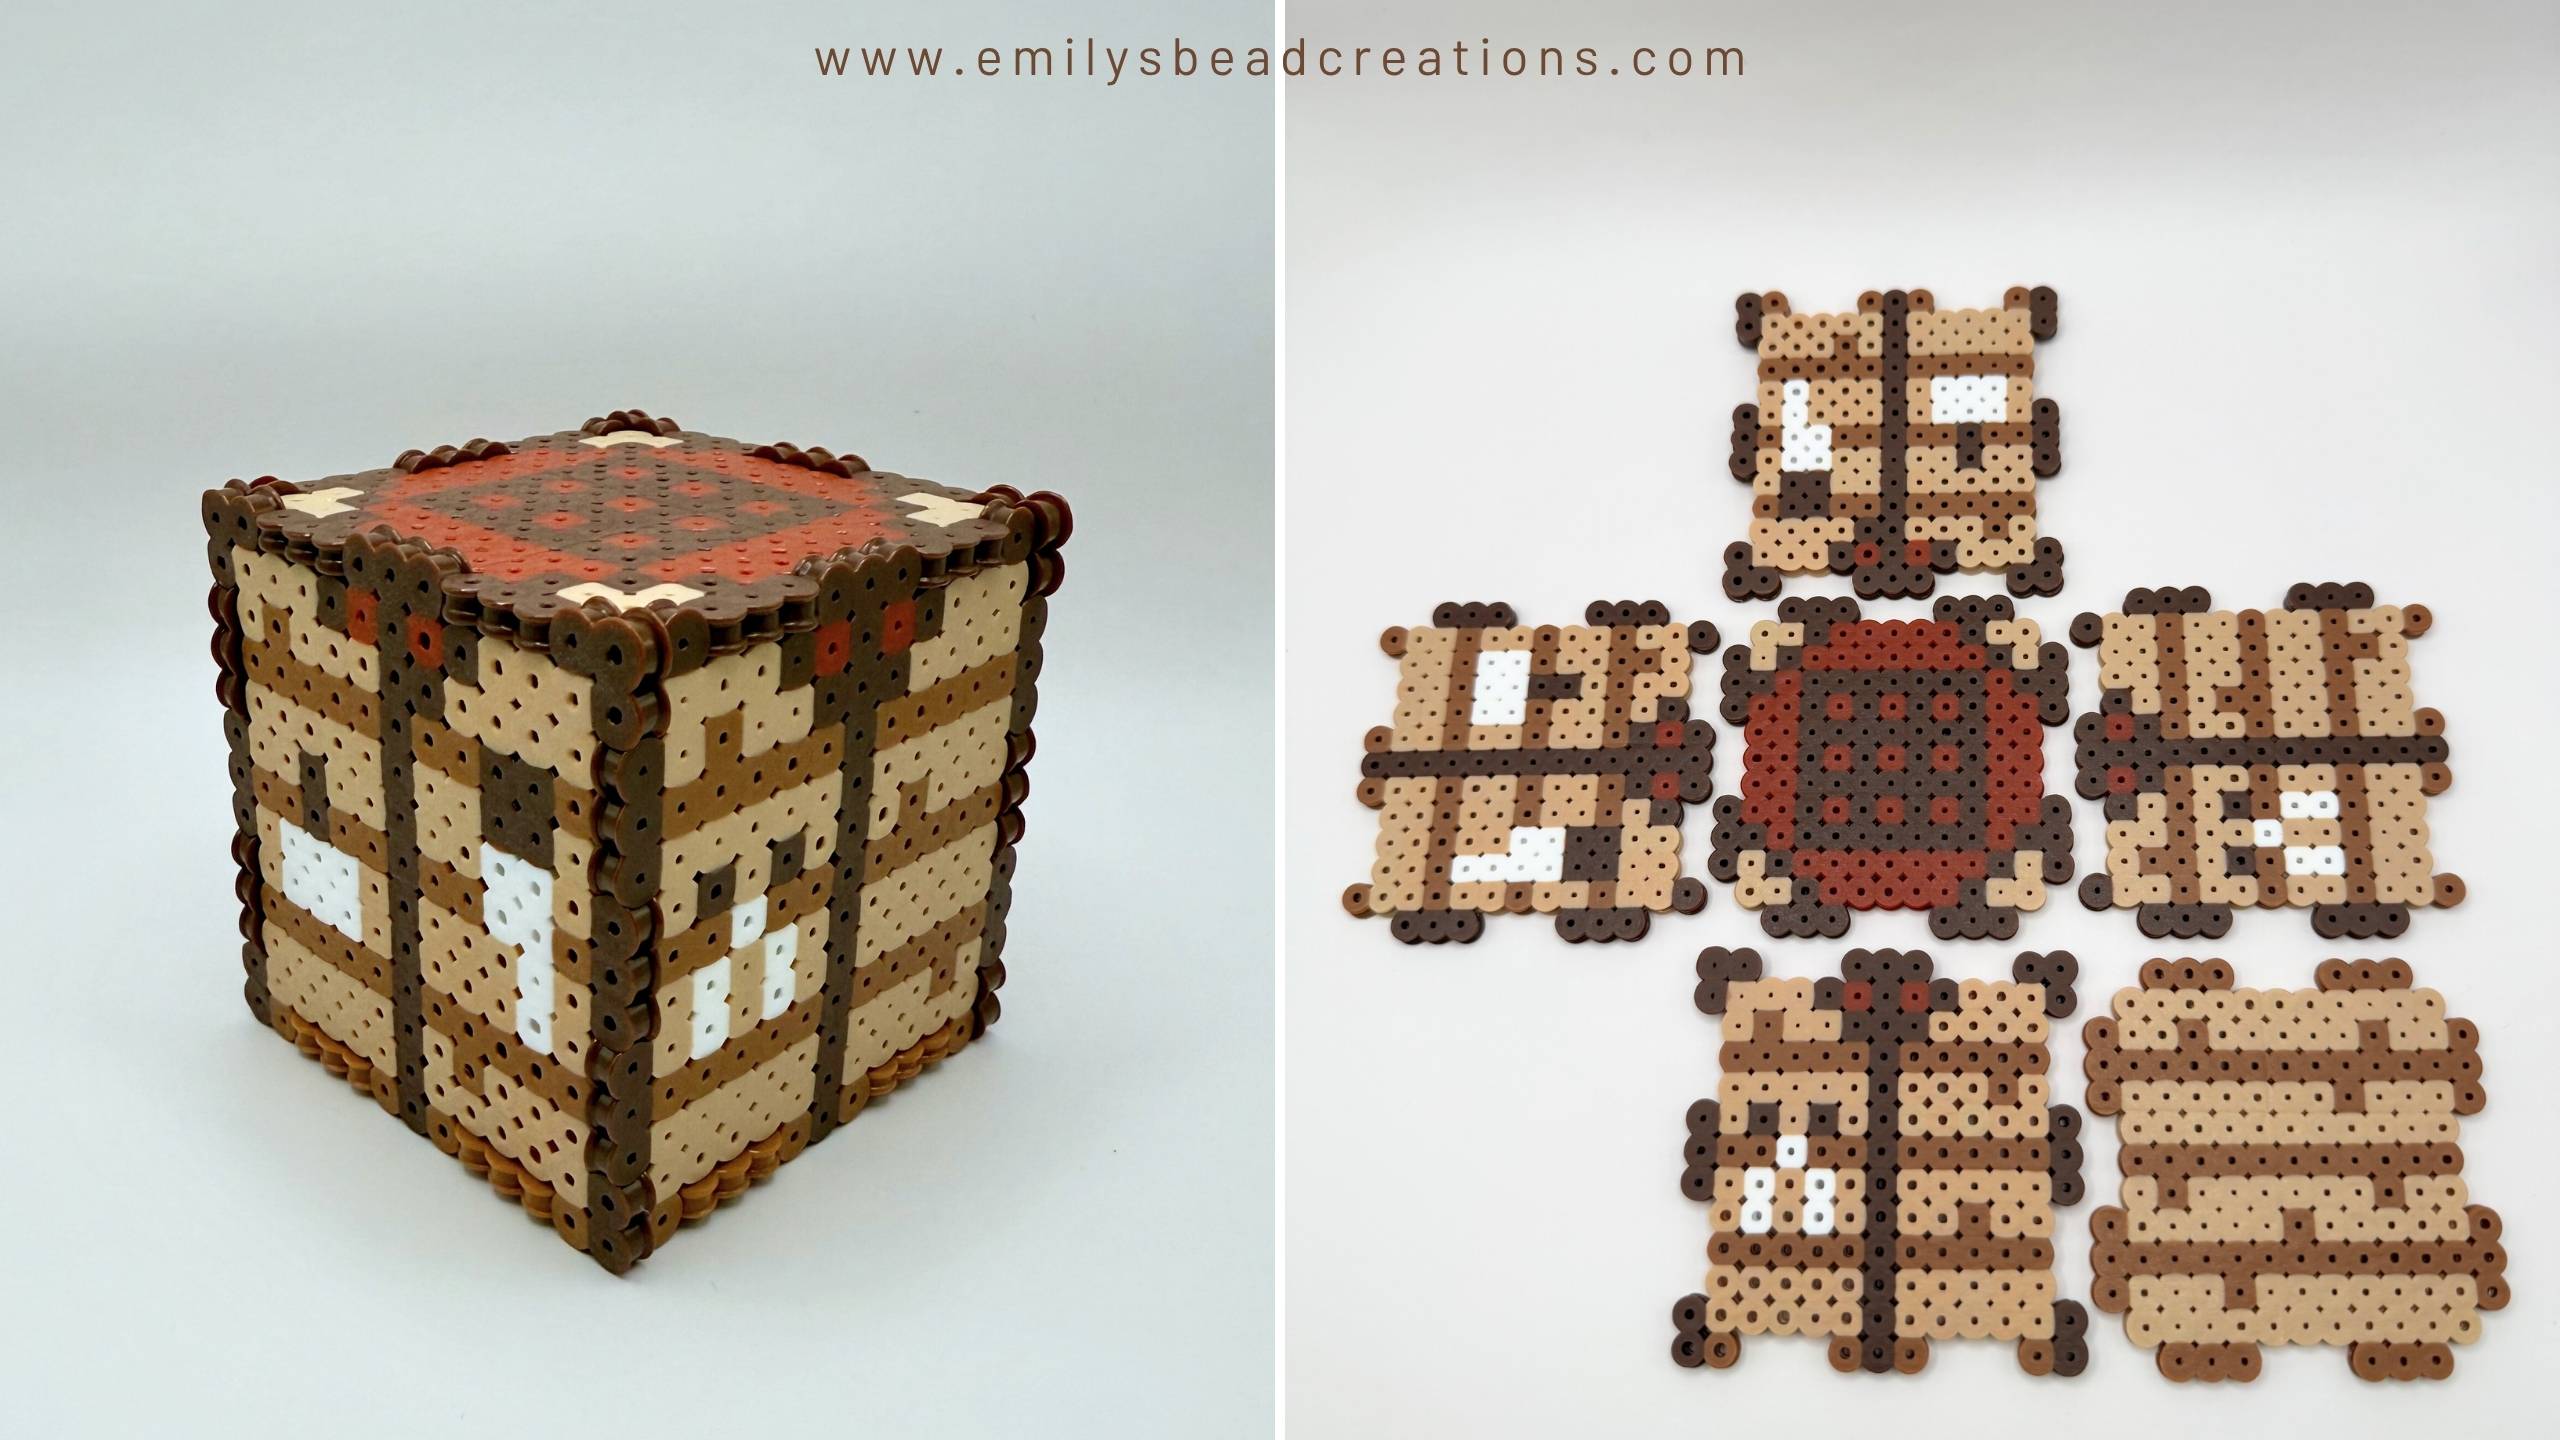
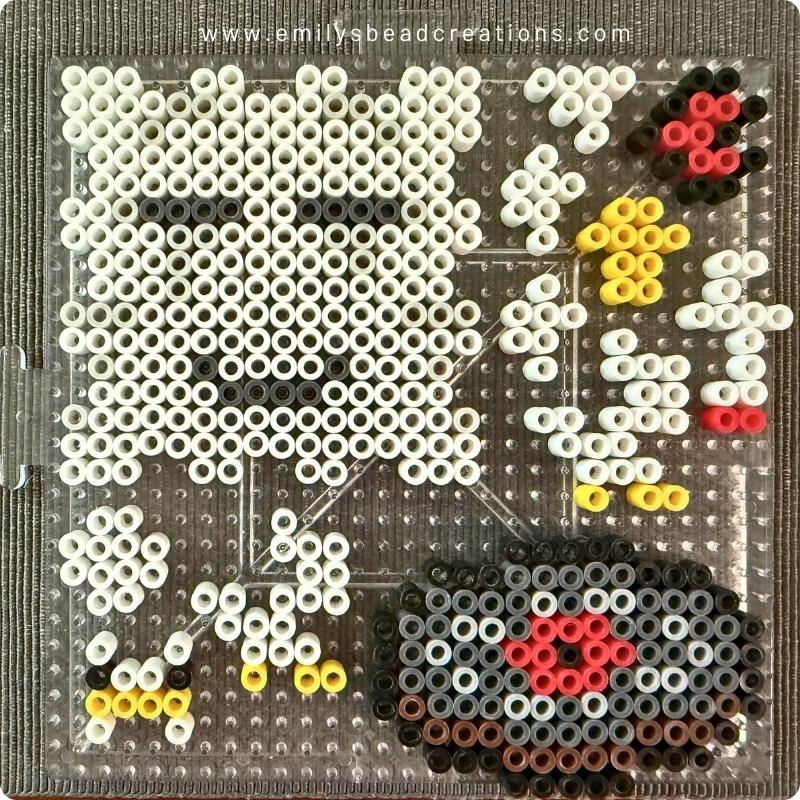
Each side of the ghast is a 16×16 square, which means only 1 fits on each large pegboard. But you can always fill the rest of the board with other projects, like I did. (That’s a 3D chicken, a heart, and the blocks music disc if you’re curious!)
Step 2: Make the Ghast’s Tentacles
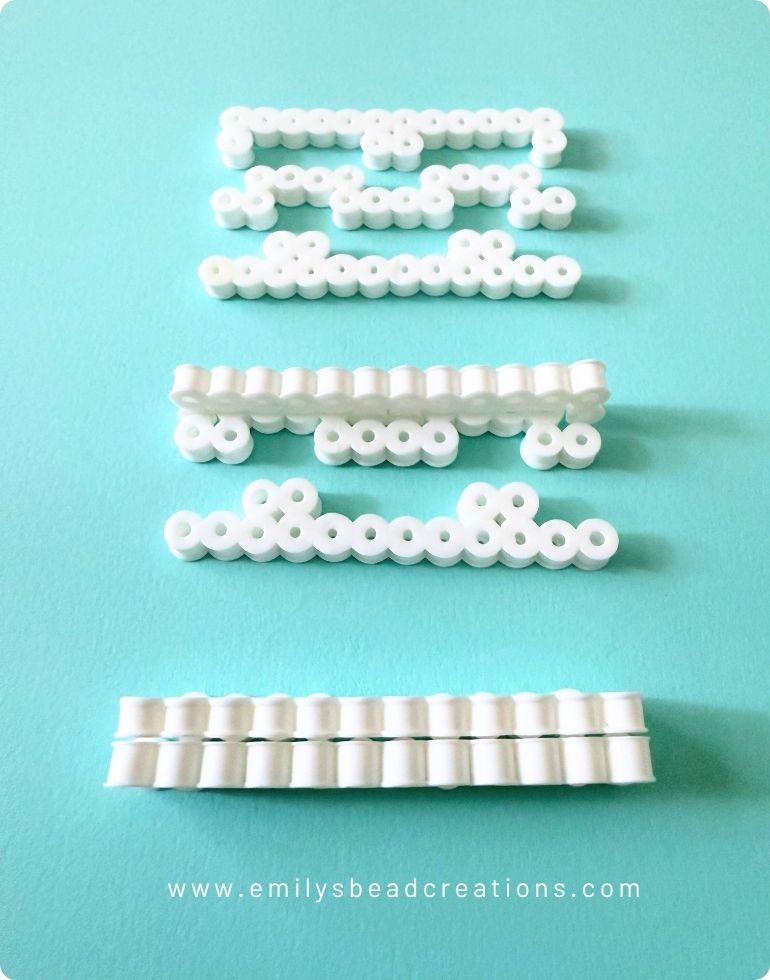
You’ll also need to make 9 3D tentacles, each requiring 3 strands of beads. You can place these on the same pegboard as the ghast’s head pieces to be more efficient. Just make sure you’re leaving enough space between all the pieces so they don’t accidentally get fused together when you melt them.
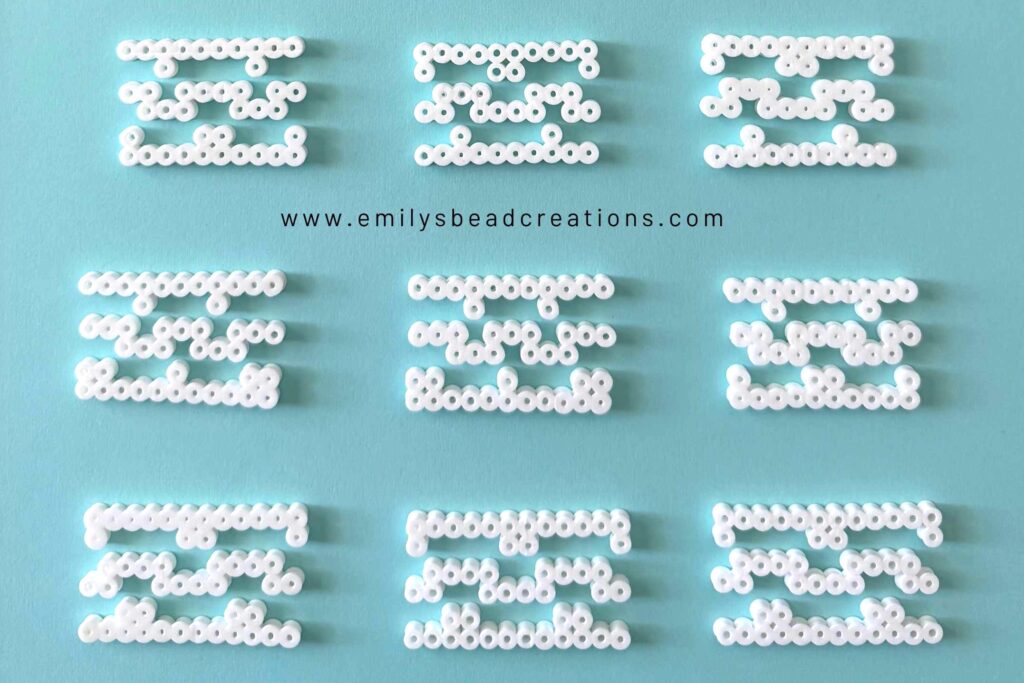
Looks like a bunch of squiggly lines, huh? But each set of 3 lines connects to make a 2×2 tentacle for your happy ghast. I made 3 different lengths because in Minecraft, the ghast’s tentacles are uneven and kind of chaotic. But you can make them all the same if you prefer!
Step 3: Make the Harness
Our happy ghast wouldn’t be complete without a custom harness! I chose to make mine purple, but you can swap for any color in your own build. You’ll need 3 large pegboards to make the harness.
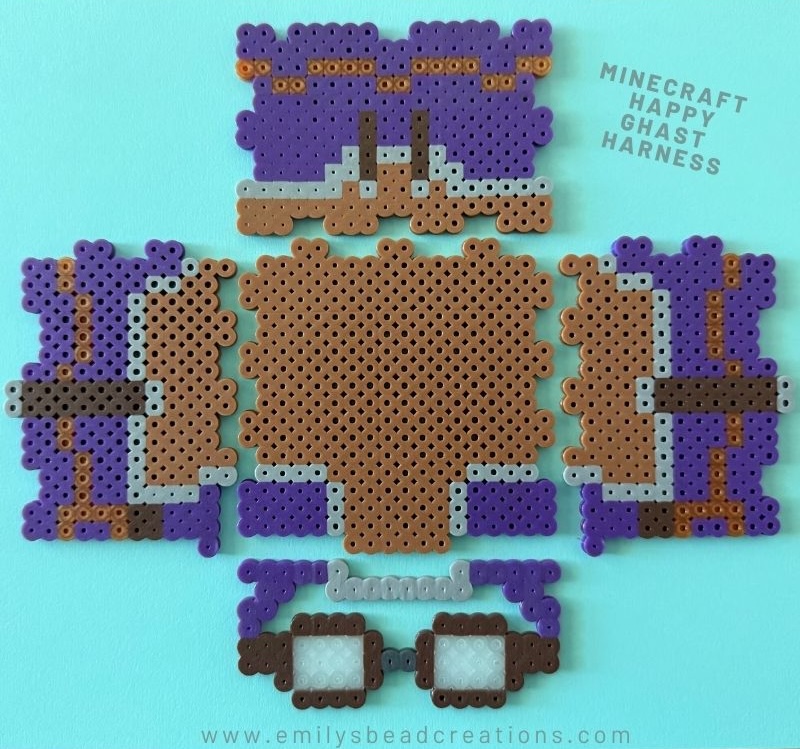
Aren’t those goggles adorable??
Step 4: Iron the Beads
Okay, this is a huge project, so I definitely recommend double- and triple-checking that you’ve copied my pattern exactly before ironing. Even one incorrect bead placement can prevent the pieces from fitting together, and trust me, you don’t want to have to remake any of these.
Always melt fuse beads on a firm, heat-proof surface using an iron on medium heat (NO steam). Use slow circular motions and very little pressure to get a good, even melt.
IMPORTANT! To make sure the pieces of your 3D creation fit snugly, melt the beads until they’re firmly fused but not so much that they’re getting flat. If the beads are completely melted, they won’t fit together properly. But if they’re not fused, the beads will unstick and your 3D creation will fall apart. It’s a delicate balance! The tentacles in particular need to be properly melted or they won’t clip together.
Let your beads cool down completely before moving on to the next step. Place something heavy like a textbook on top of the beads while they cool so they stay flat.
Step 5: Assemble Your 3D Minecraft Happy Ghast!
Assembly is my favorite part. There are a lot of pieces to this ghast, so if you want a video tutorial, head on over to Instagram for an assembly run-through.
I like to start with putting together the tentacles. Just clip the lines into each other to make a 2x2x12 log (for the shortest tentacles).
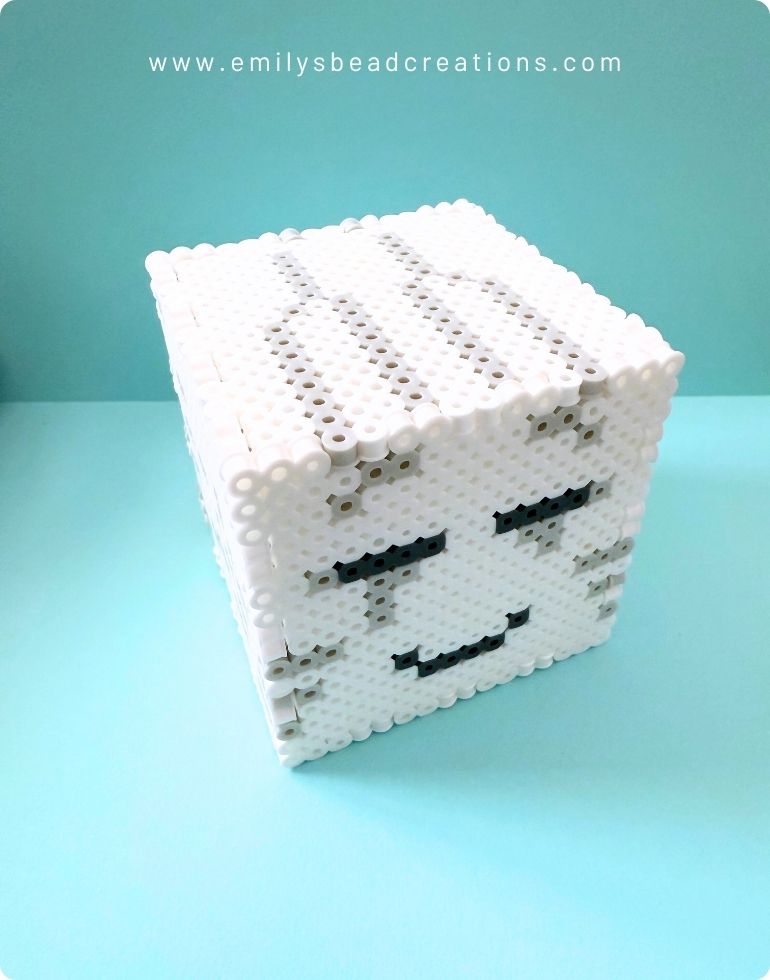
Then, assemble the ghast’s head/body. The panel with the grid of holes goes on the bottom. That’s where you’ll attach the tentacles! Just push them in gently, one bead deep into the body. They should clip on securely.
The side panels have gray beads that line up with the gray lines on the ghast’s cheeks. All the gray patterns should line up nicely.
And finally, assemble the harness:
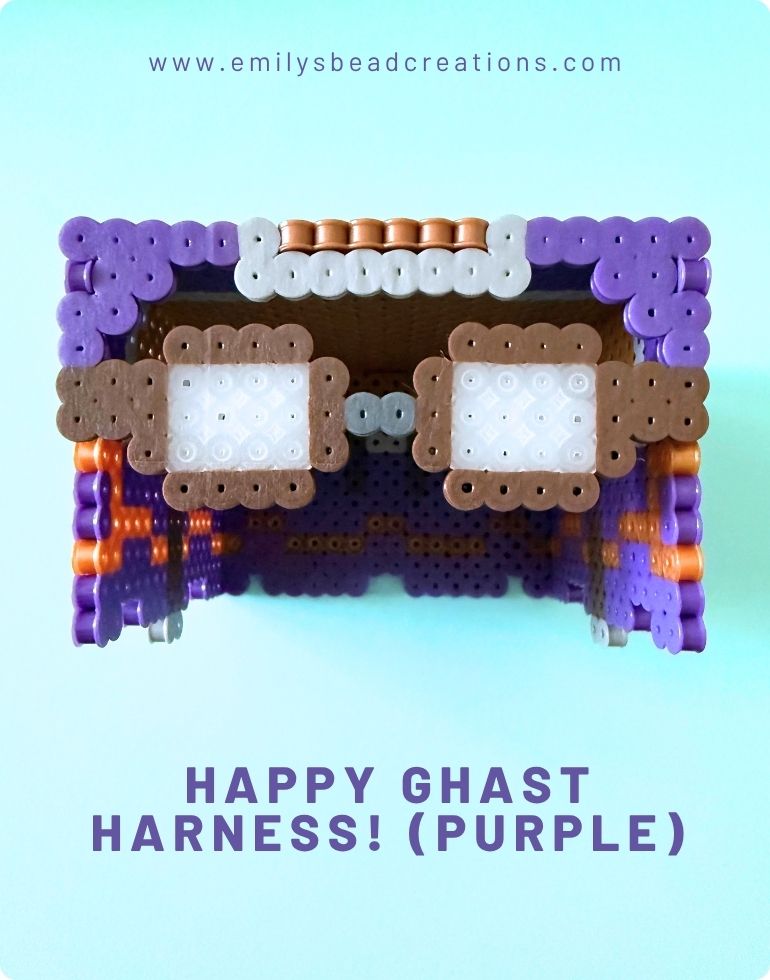
Now your ghast should be ready to go on fantastical Overworld adventures!
What do you think — will you be making a 3D Minecraft Happy Ghast of your own? I’d love to see how it turns out! Share a picture of your ghast with me on Pinterest, Instagram, or in the comments below. And if you enjoyed this build, make sure to subscribe to receive Perler bead inspiration right in your inbox!
Until next time,
Emily 💖
