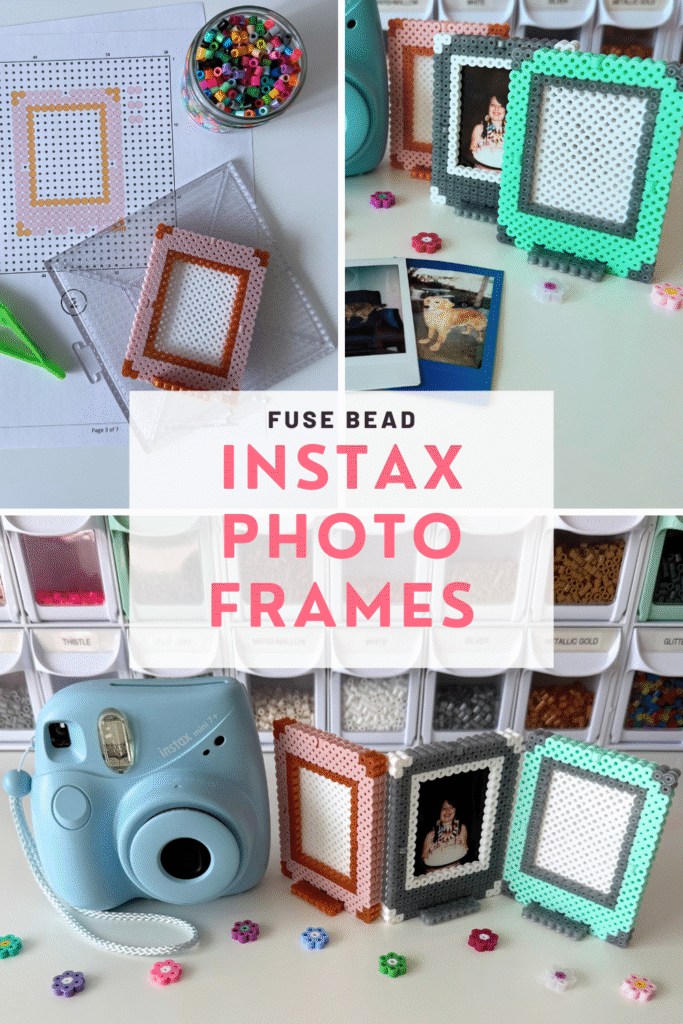
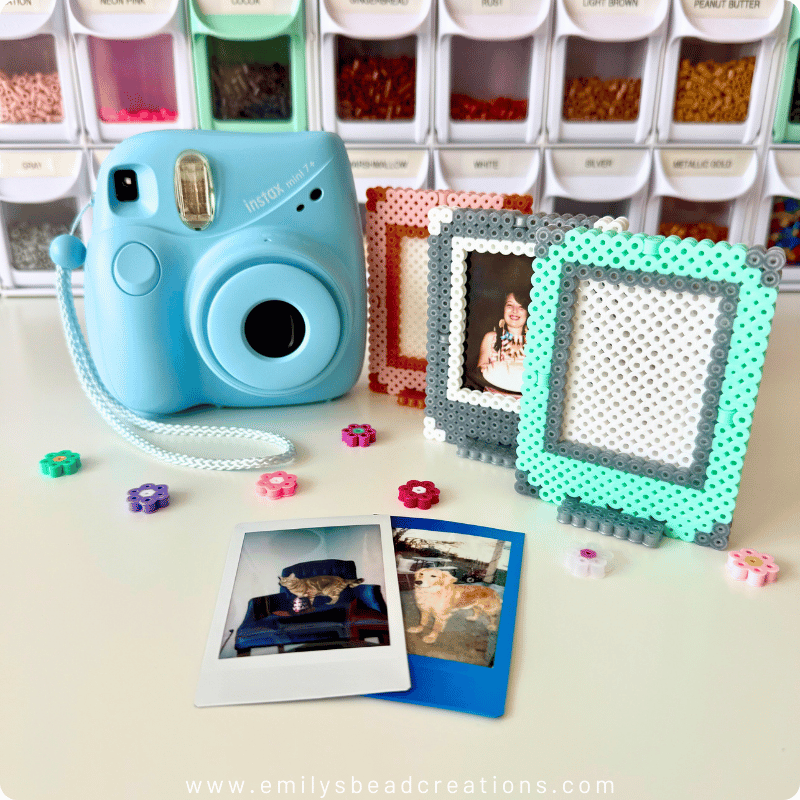
If you love taking pictures with your Instax Mini, these adorable picture frames are for you. All you need is my instant photo frame Perler bead pattern and fuse beads in the colors of your choice. In this post, I show you how to make them step by step.
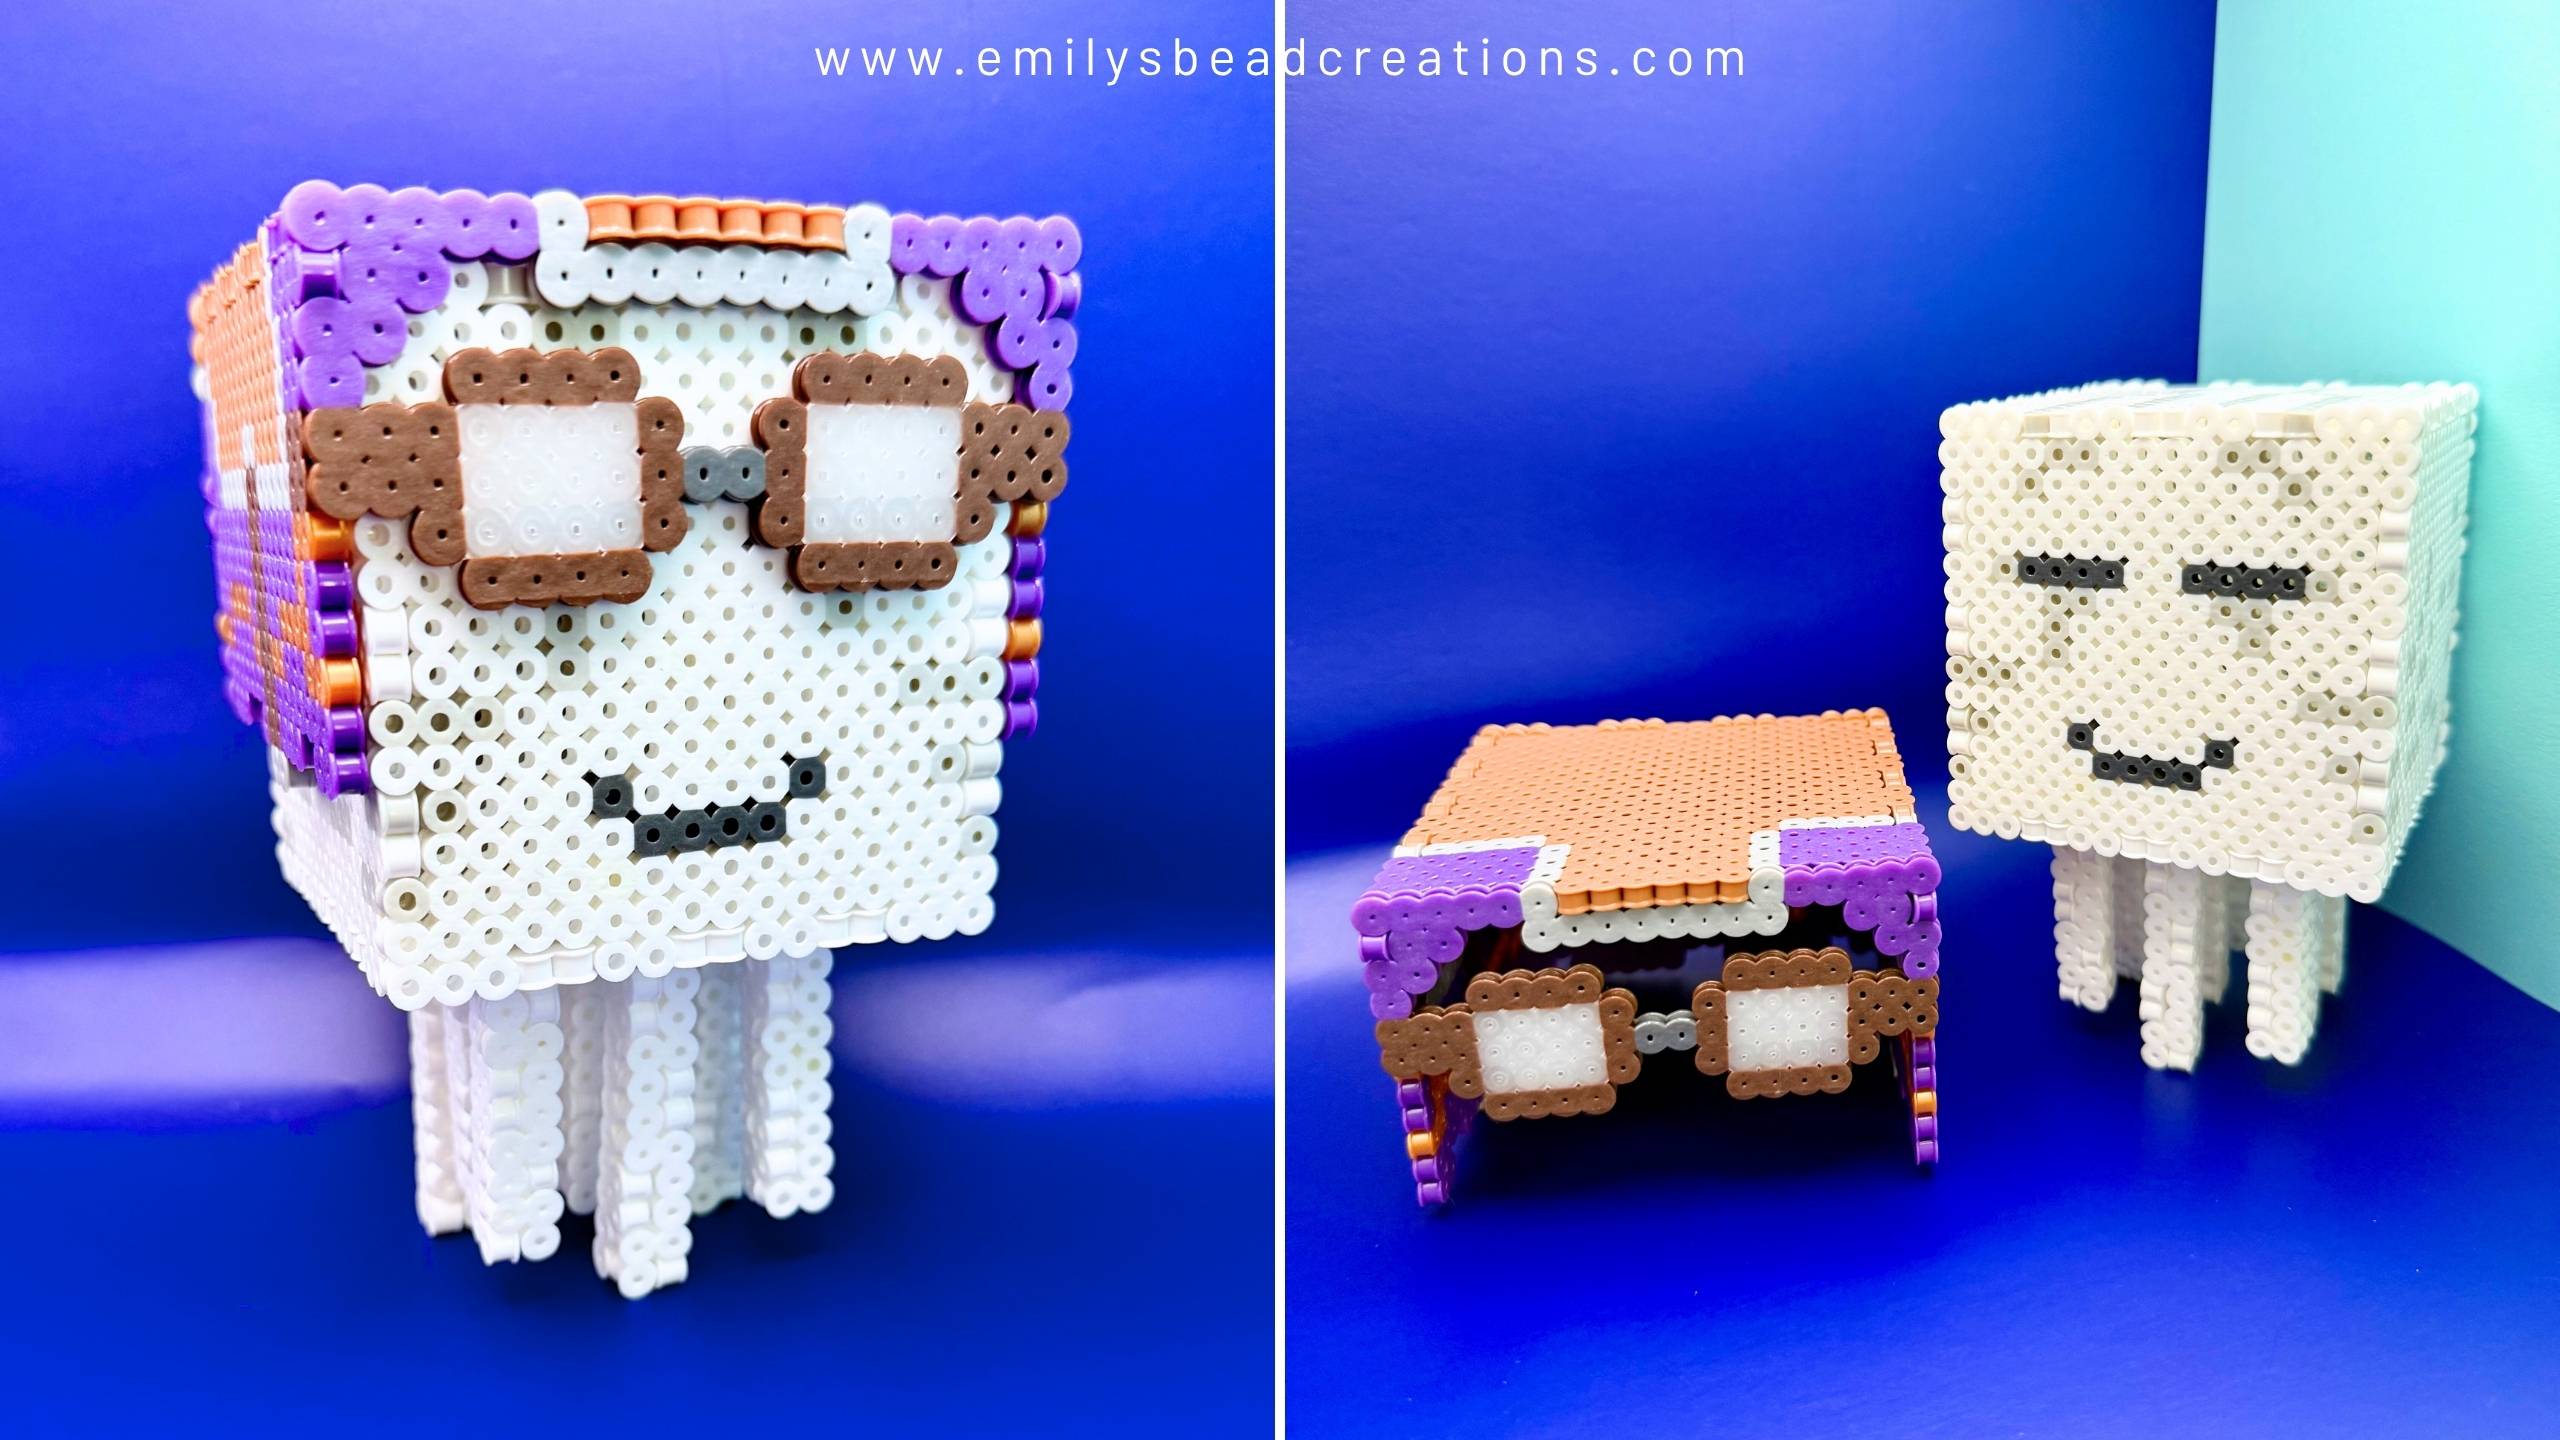
My pattern features two designs: colorful stripes and fancy corners. I’ve got more designs in mind, so if you think these are cute, stay tuned! I’m working on a Minecraft-inspired set right now.
This was a tricky one to design. I failed 4 times before finally creating a pattern that felt simple and kept the instant photo properly centered. But I absolutely love how they turned out. What do you think?
Making a photo frame out of Perler beads is easy, especially if you print my pattern and lay clear pegboards on top to copy it. Once ironed, the pieces snap together without messy glue. Just beads. Plus, you can customize the frame however you want: colors, looks, even shape.
Read on to learn how to make this Instant Photo Perler Bead Frame come to life!
What You’ll Need
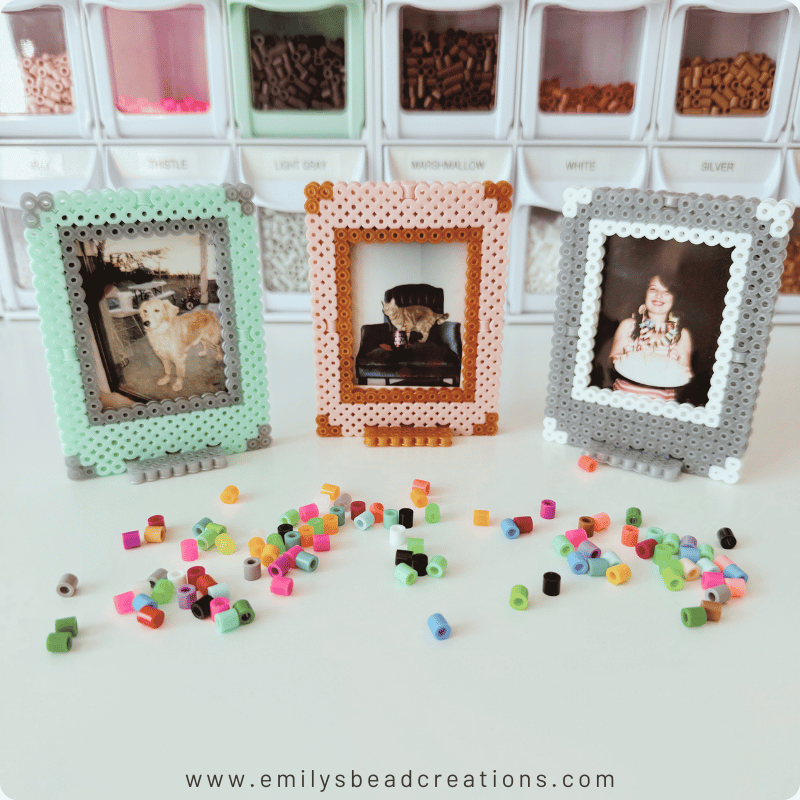
For each frame, you’ll need 520 fuse beads of any color. To make the rose gold one, for example:
- 232 white fuse beads (I used Perler white)
- 184 pink fuse beads (I used Perler carnation)
- 104 gold fuse beads (I used Perler metallic gold)
- 2 large pegboards (I used Perler Pegboards)
- Iron (I’ve used this one for years but any old iron will do)
- Parchment paper (the regular stuff works as well as the special Perler sheets!)
- Perler Bead Tweezers (for sanity)
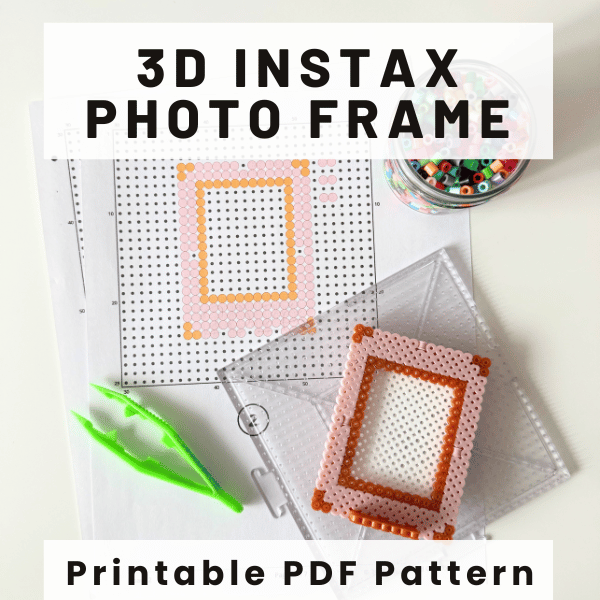
Optional but recommended: I sell the printable pattern for only $3 on my Gumroad shop. Trust me when I say the time savings and ease of laying your board on top and copying a pattern are so, so worth it.
Step 1: Laying Out Your Instant Photo Frame Perler Bead Pattern
First, print or open the pattern and copy the design. This photo frame needs 2 large square pegboards. Since the frame is 20 beads tall, it won’t fit on a small pegboard.
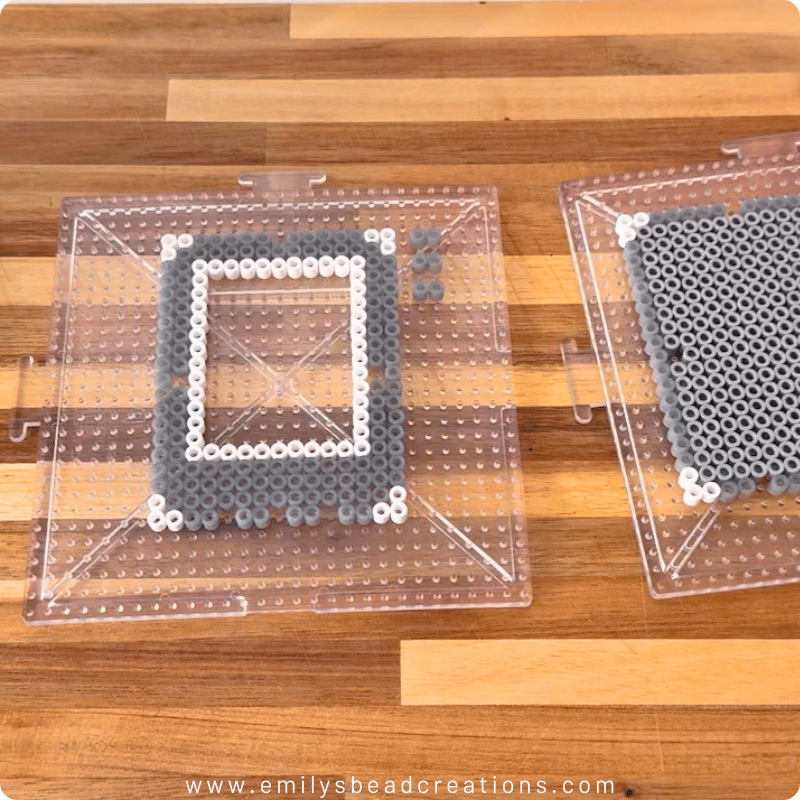
Make sure you’re precise with your bead positions and double-check everything before ironing. 3D Perler bead creations are like puzzles—the pieces need to fit together perfectly.
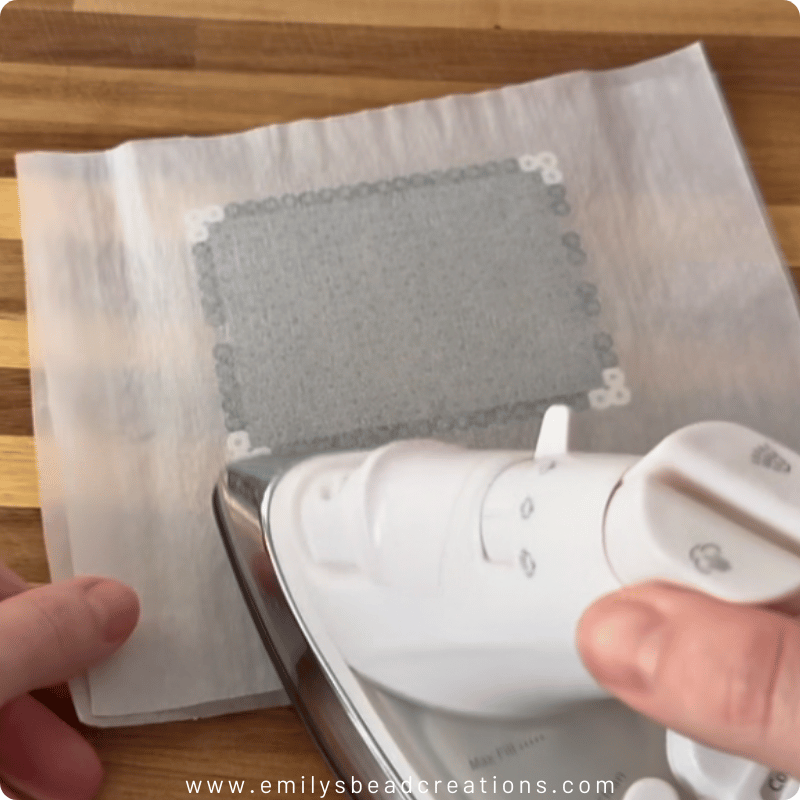
Step 2: Ironing Your Perler Bead Photo Frame
Iron your design to melt the beads and fuse them together. Some KEY tips:
- Iron both sides. This gives the project stability and allows it to snap together.
- Don’t melt the beads completely. They must be solidly fused together, but their centers should still be visible. If the center hole of the bead has fused shut, your beads will have expanded too much and will not longer fit together like a 3D puzzle.
- Flatten with weight until cooled. Place a heavy object (like a stack of books) on top of your ironed project while it cools. This prevents bending and warping during cooling.
Step 3: Building Perler Photo Frame
This is my favorite step! Follow along with my video on Instagram to put together your instant photo Perler bead frame. First, lay the frame’s front on top of the white backing, lining up the holes. Then, push the tiny 2-bead rods through the top 3 holes. Snap the stand base into the bottom of the frame. That’s it!
If you make your own Perler photo frame, I’d love to see it! Share with me over on Pinterest or Instagram. And don’t forget to subscribe for updates to get my latest designs in your inbox.
Until next time,
Emily 💖