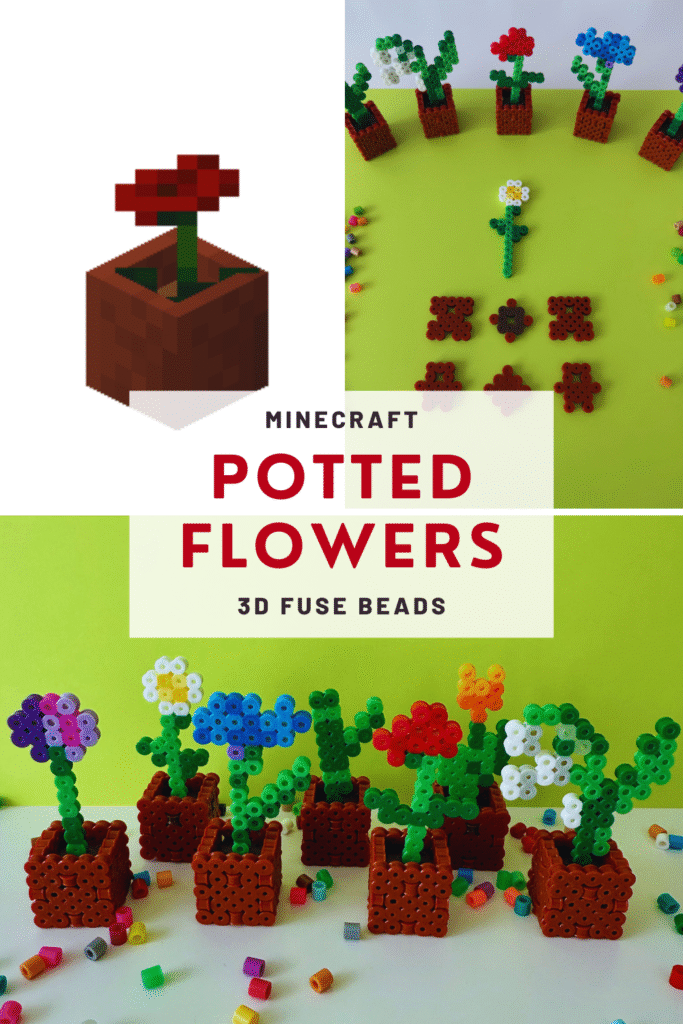
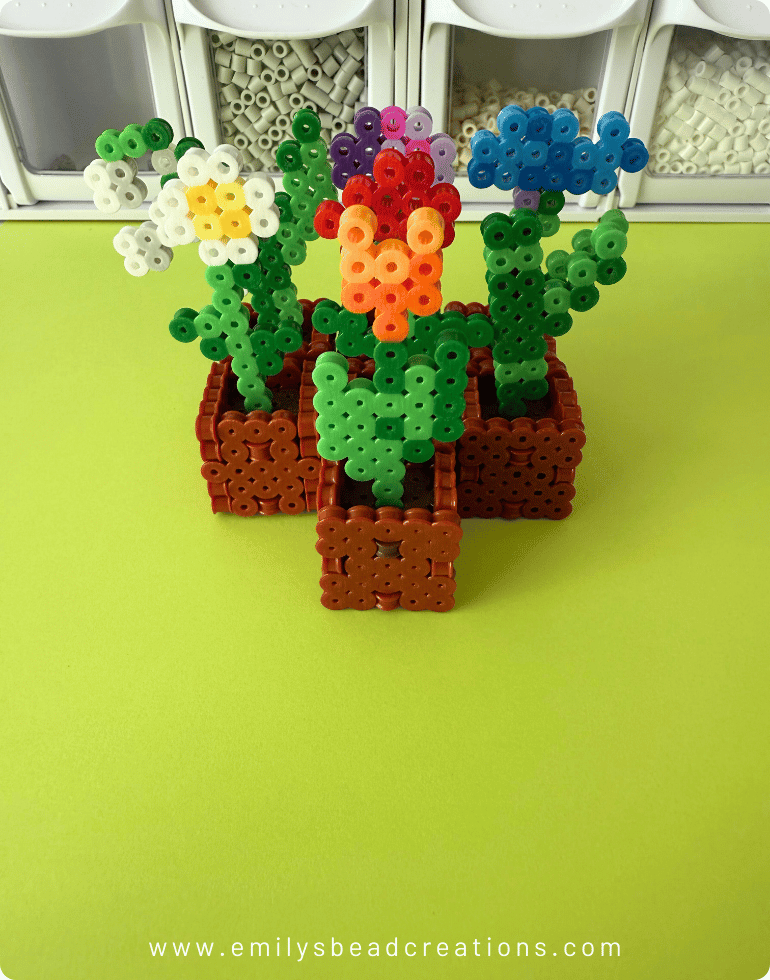
Bring a little piece of your favorite game to life with my Minecraft Potted Flowers Perler tutorial! All you need is my Minecraft Potted Flowers Perler pattern, a small/large square pegboard, and fuse beads. NO glue! The piece snap together like a puzzle. In this post, I show you how to make them step by step.
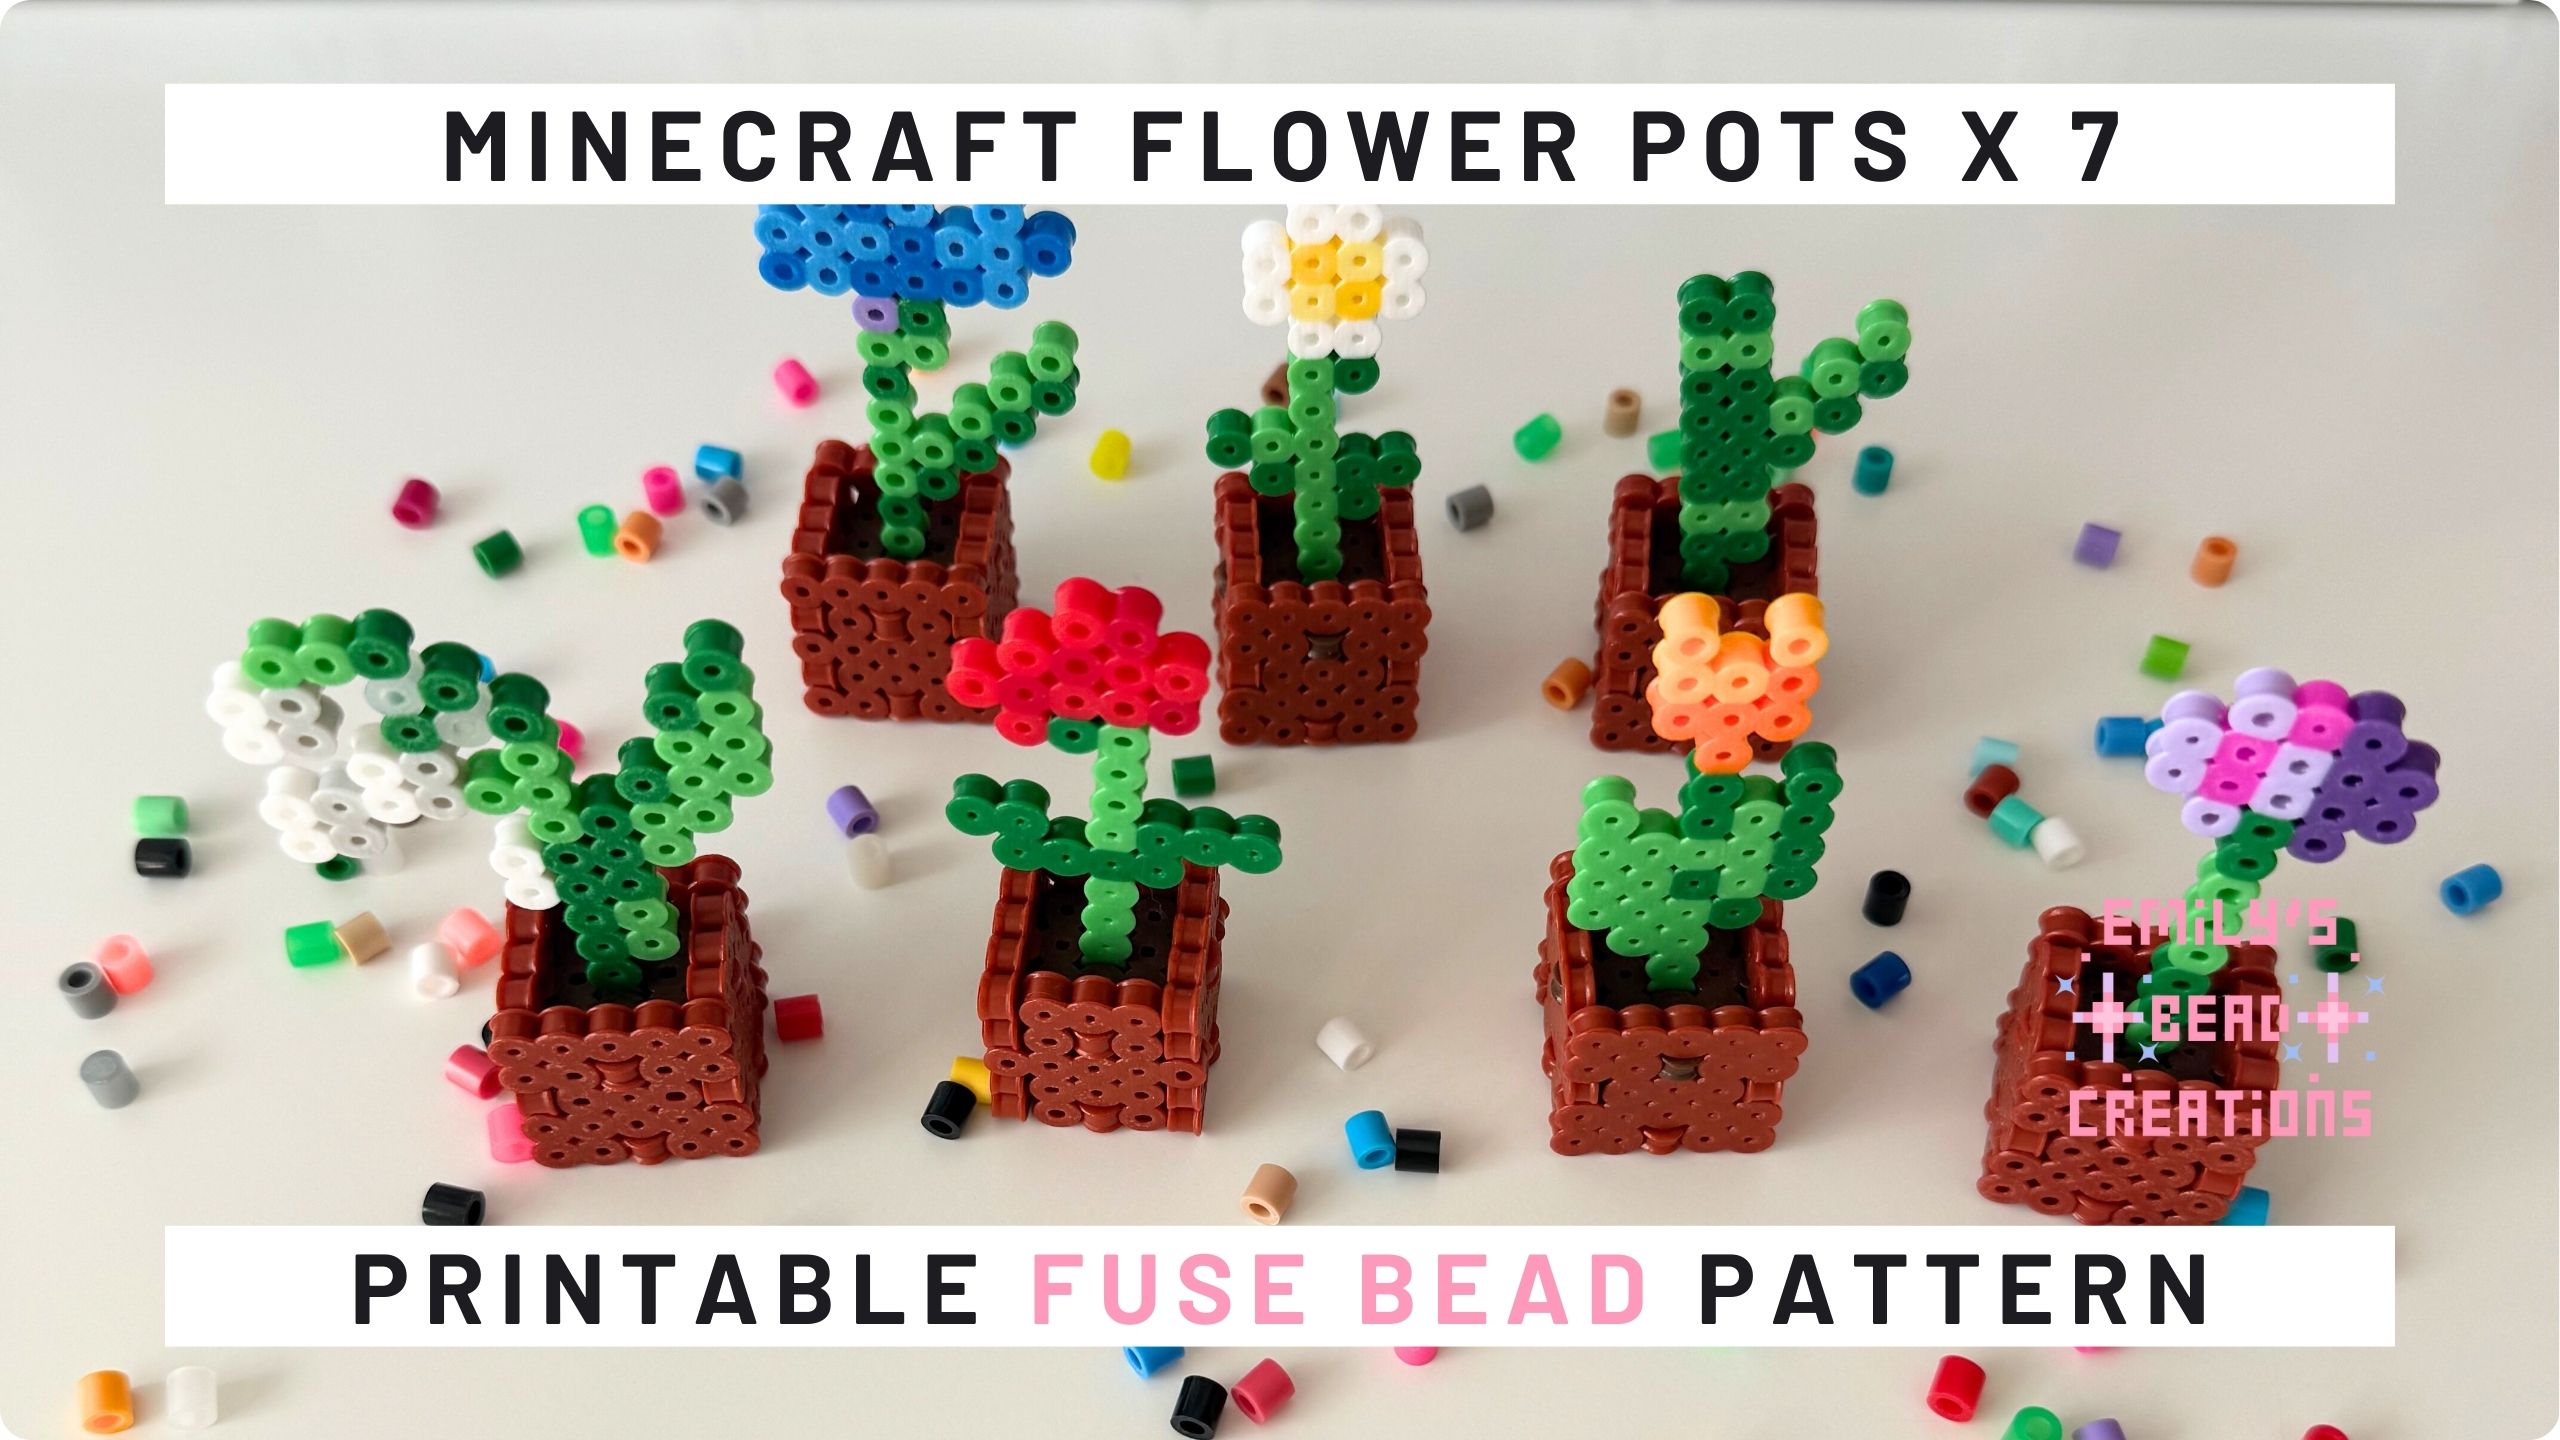
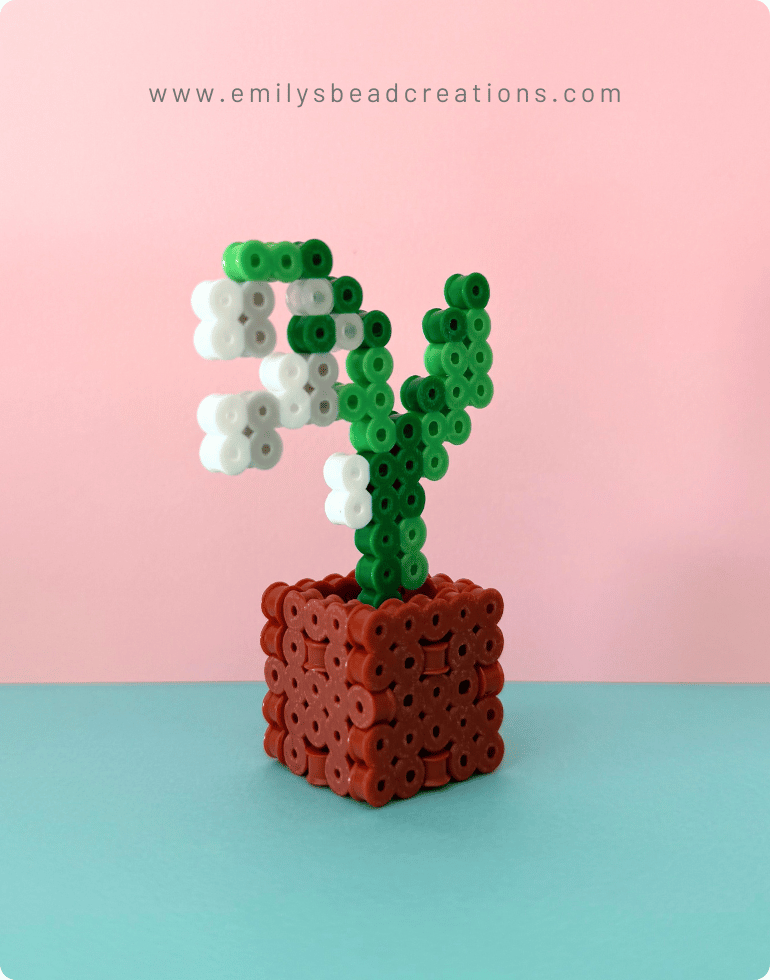
My pattern features 3D flower pots holding 2D flowers inspired by some of my Minecraft favorites: allium, oxeye daisy, cornflower, poppy, lily of the valley, bamboo, and tulip.
Don’t these make the most adorable desk decorations?
The entire project might take you 15 minutes to an hour depending on how many pots you choose to make. You could make a single pot and rotate which flower is featured, too. Just print my pattern and lay clear pegboards on top to copy it.
Read on to learn how to make this Perler Bead Minecraft Flowers come to life!
What You’ll Need
If you have the 22,000 bead bin from Perler or a similar variety pack, you’ll probably have the right colors and amounts to make this project!
The following will make 1 3D pot and 7 2D plants to fit inside:
- 16 white fuse beads (I used Perler white)
- 2 yellow fuse beads (I used Perler yellow)
- 5 orange fuse beads (I used Perler orange)
- 8 red fuse beads (I used Perler read)
- 4 dark red fuse beads (I used Perler cherry)
- 4 dark purple fuse beads (I used Perler purple)
- 7 dark blue fuse beads (I used Perler dark blue)
- 10 light blue fuse beads (I used Perler light blue)
- 8 dark brown fuse beads (I used Perler brown)
- 6 light purple fuse beads (I used Perler pastel lavender)
- 2 light yellow fuse beads (I used Perler pastel yellow)
- 2 plum fuse beads (I used Perler plum)
- 4 strong yellow fuse beads (I used Perler cheddar)
- 85 light green fuse beads (I used Perler bright green)
- 6 light gray fuse beads (I used Perler light grey)
- 4 very light purple fuse beads (I used Perler frosted lilac)
- 2 clear fuse beads (I used Perler clear)
- 89 reddish brown fuse beads (I used Perler rust)
- 1 large pegboard (I used Perler Pegboards)
- Iron (I’ve used this one for years but any old iron will do)
- Parchment paper (the regular stuff works as well as the special Perler sheets!)
- Perler Bead Tweezers (for sanity)
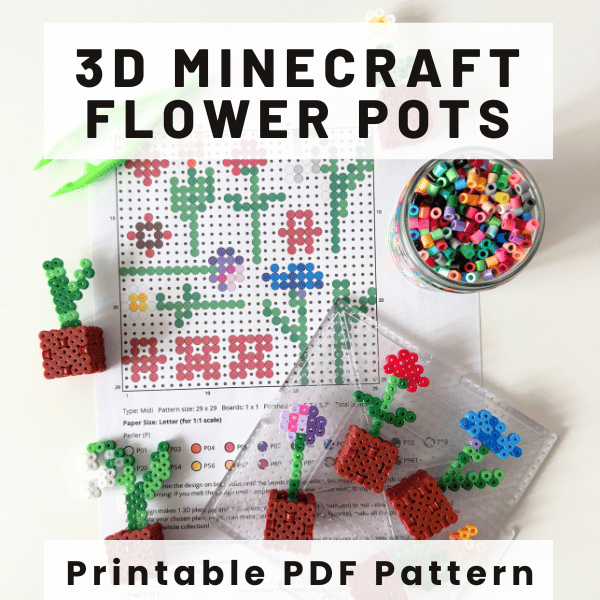
Optional but recommended: I sell the printable pattern for only $3 on my Gumroad shop. Trust me when I say the time savings and ease of laying your board on top and copying a pattern are so, so worth it.
Step 1: Laying Out Your Minecraft Flowers 3D Perler Bead Pattern
First, print or open the pattern and copy the design. The entire design (all 7 plants and 1 flower pot) fits on a single large square pegboard. If you only have a small square, you can still make these 3D Perler bead flowers. You’ll just have to do it in batches, ironing or taping to free up the board for the next part.
Make sure you’re precise with your bead positions and double-check everything before ironing. 3D Perler bead creations are like puzzles—the pieces need to fit together perfectly.
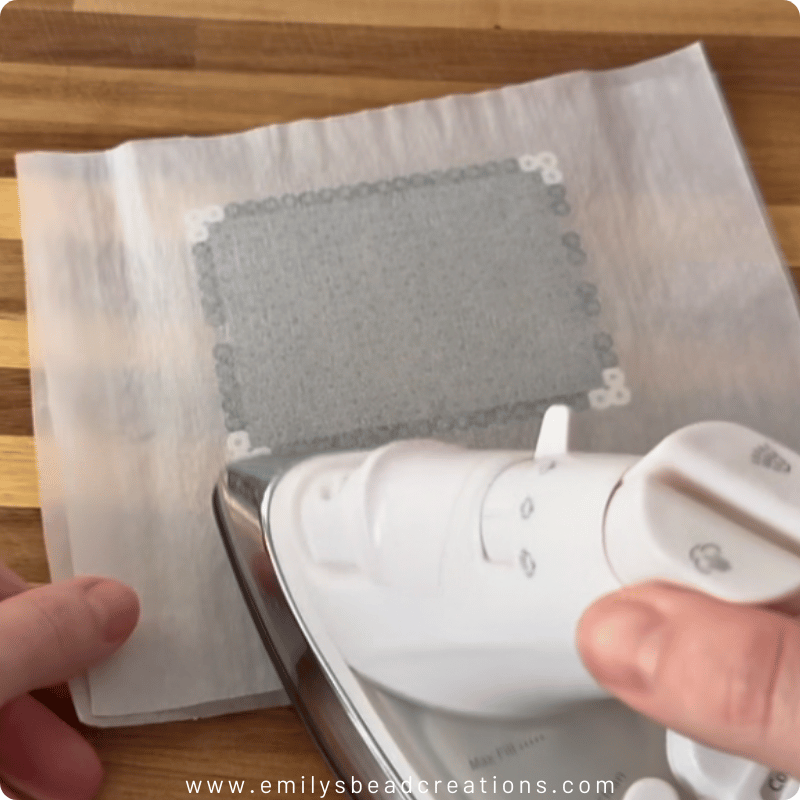
Step 2: Ironing Your Perler Bead Flower Pots
Iron your design to melt the beads and fuse them together. Some KEY tips:
- Iron both sides. This gives the project stability and allows it to snap together.
- Don’t melt the beads completely. They must be solidly fused together, but their centers should still be visible. If the center hole of the bead has fused shut, your beads will have expanded too much and will not longer fit together like a 3D puzzle.
- Flatten with weight until cooled. Place a heavy object (like a stack of books) on top of your ironed project while it cools. This prevents bending and warping during cooling.
Here’s an example of how melted the beads should be for the design to come together:
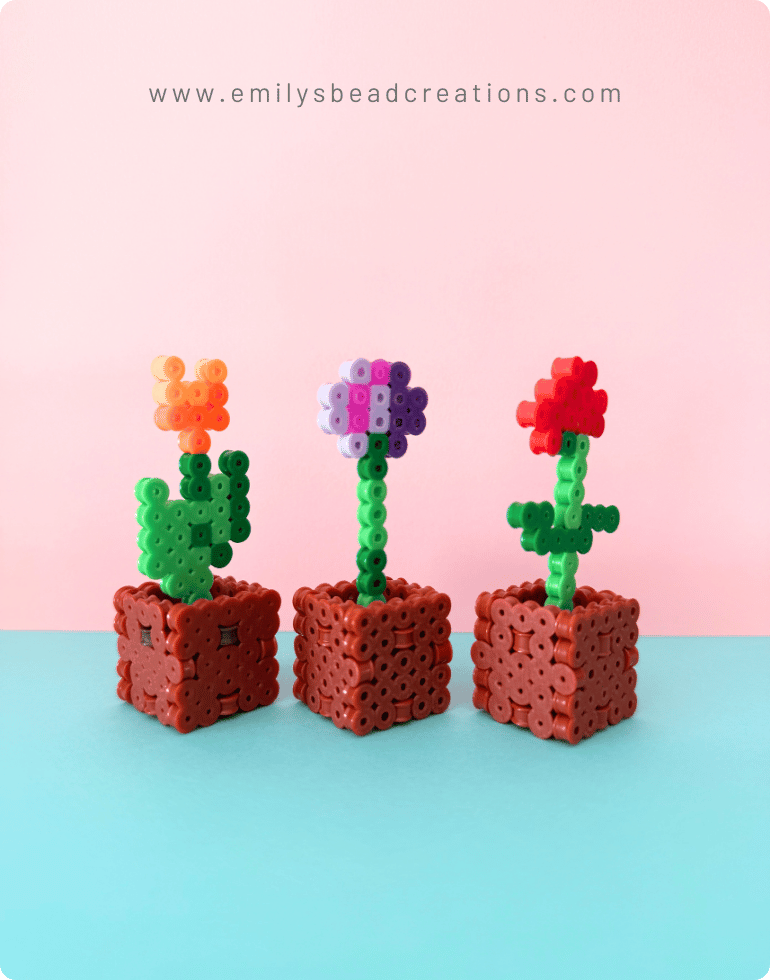
Step 3: Building Your 3D Minecraft Flower Pots
This is my favorite step! Follow along with my tutorial video on Instagram to put together your Minecraft flower pots. First, put the flower through the center of the “dirt” piece. Then, attach the sides of the pot one at a time. Finally, add the bottom. That’s it!
If you make your own Perler flower pots, I’d love to see it! Share with me over on Pinterest or Instagram. And don’t forget to subscribe for updates to get my latest designs in your inbox.
Until next time,
Emily 💖