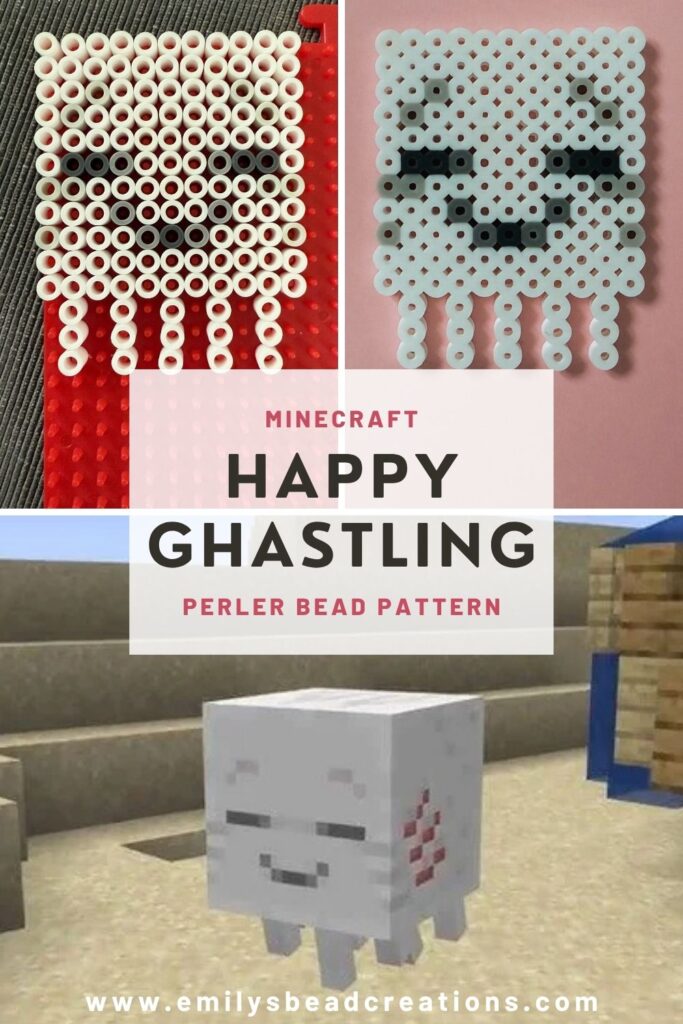
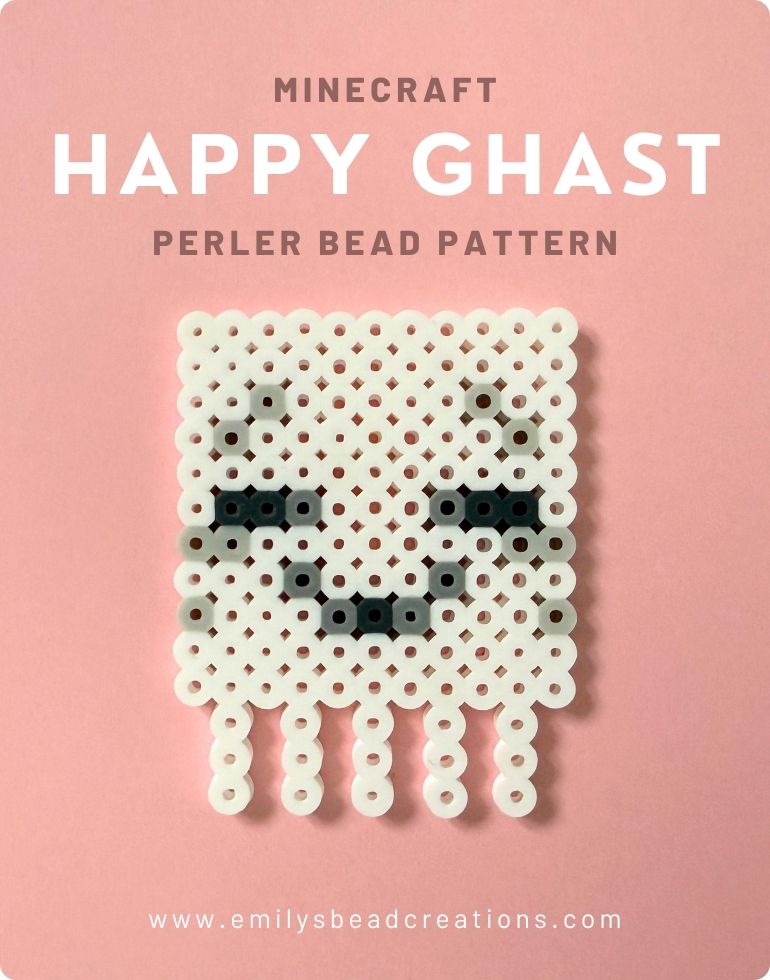
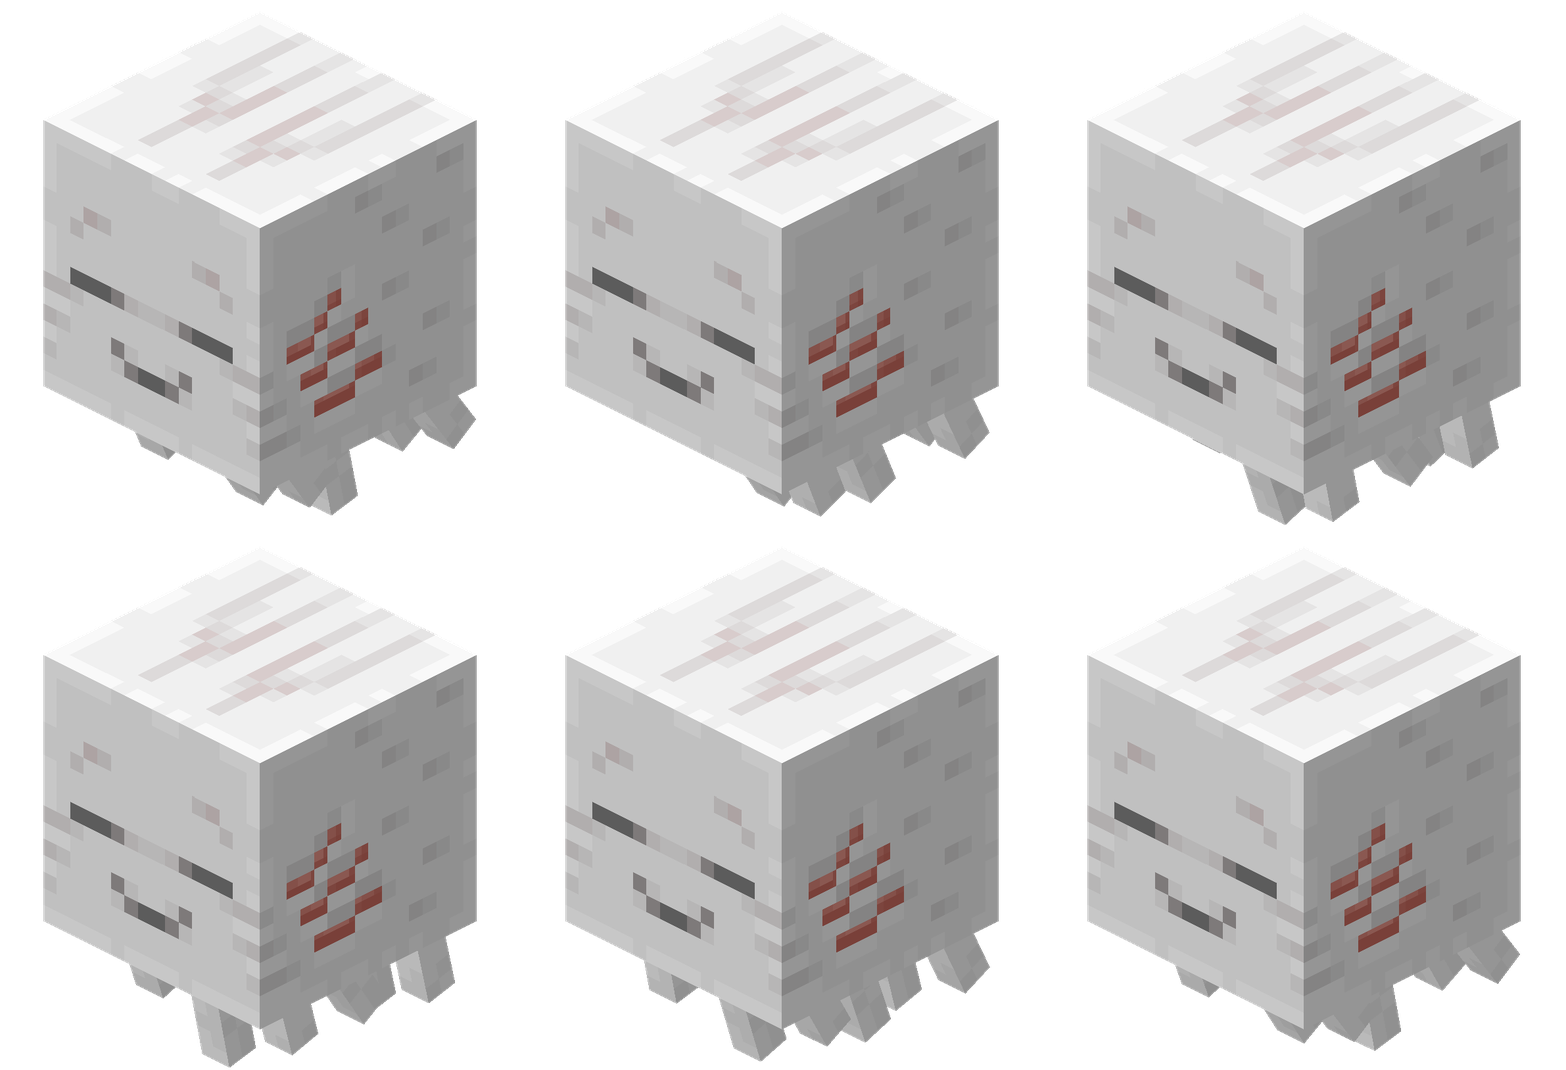
You guys, how cute are the new Minecraft ghastlings?! 😍 I’m besotted. Enchanted. Joyous, even. I had to celebrate by creating a Minecraft Ghastling Perler Bead pattern so we can bring this happy little buddy on real-world adventures, too.
Psst… I’m also working on a 3D Happy Ghast pattern with harness, so stay tuned! In the meantime, let’s take a look at this quick and easy ghastling Perler bead pattern, because this cute little buddy could be yours in a matter of minutes.
Materials List
For this build, you’ll need only 136 beads and the usual equipment.
Beads:
- 115 white fuse beads (I used Perler White)
- 10 light gray fuse beads (I used Perler Light Gray — this color doesn’t come in most of the bargain bead buckets, so you may have to hunt it down or replace with another color)
- 5 dark gray fuse beads (I used Perler Dark Gray)
- 6 gray fuse beads (I used Perler Gray)
This set of Perler bead bags in 3 shades of gray would be perfect for this project.
Equipment:
- Large or small pegboard (I used a large Perler Pegboard but a small square will also work)
- Iron (I’ve used this one for years)
- Parchment paper (the regular stuff works as well as the special Perler sheets!)
- (optional but recommended) Perler Bead Tweezers
Minecraft Ghastling Perler Bead Pattern
I built the ghastling on a large pegboard, but it fits on a small square pegboard, too. Pay close attention to the beads I marked with arrows; the light gray is super subtle until you melt the beads. But you don’t want your little ghastling to be missing its eyebrows, right?
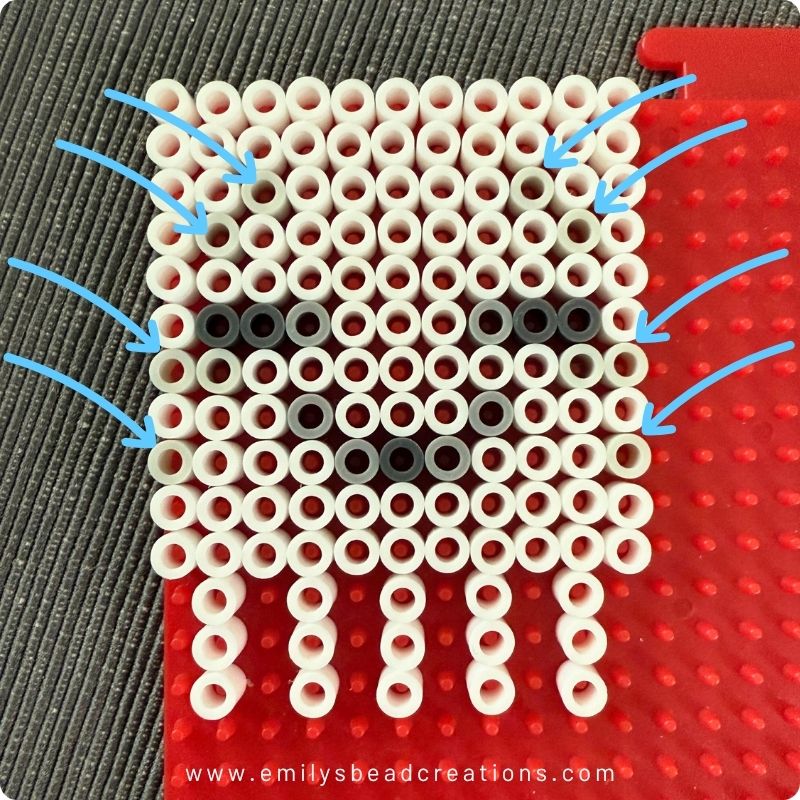
My ghastling has only 5 tentacles instead of the in-game 9, but you get the idea.
Make sure you place a heavy object like a textbook on top of your ghastling after ironing to make sure your little buddy stays flat.
Once your creation has cooled down, remove the parchment paper to reveal… your very own Minecraft Ghastling Perler bead buddy!
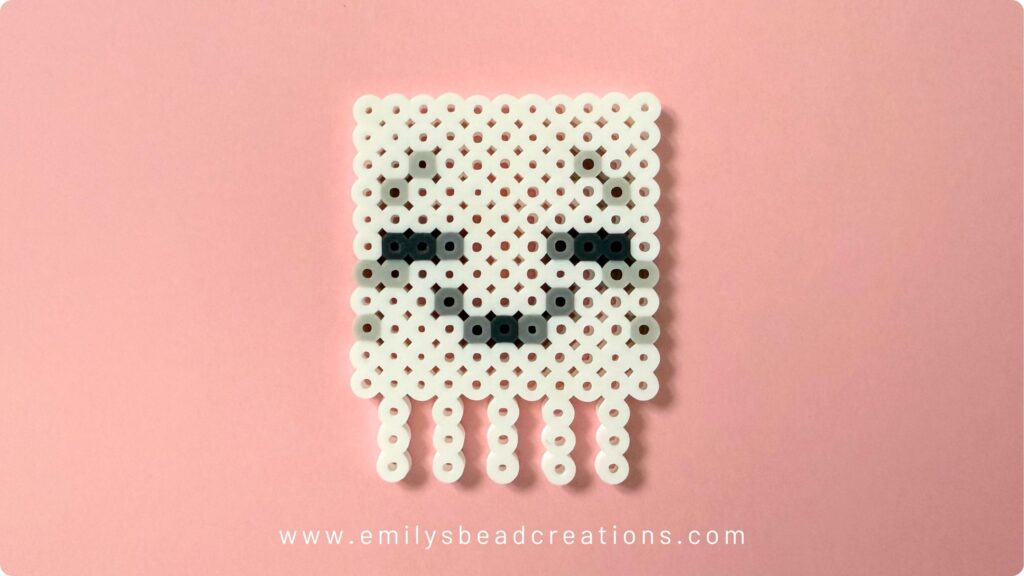
How cute is that?!
What do you think — will you be making a Perler bead Minecraft Ghastling of your own? I’d love to see how it turns out! Share a picture with me on Pinterest or in the comments below.
Until next time,
Emily 💖
